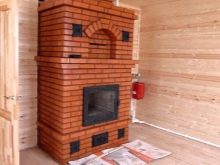
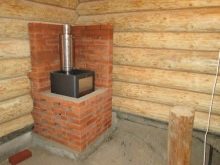
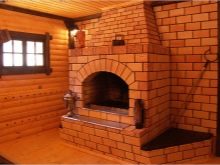
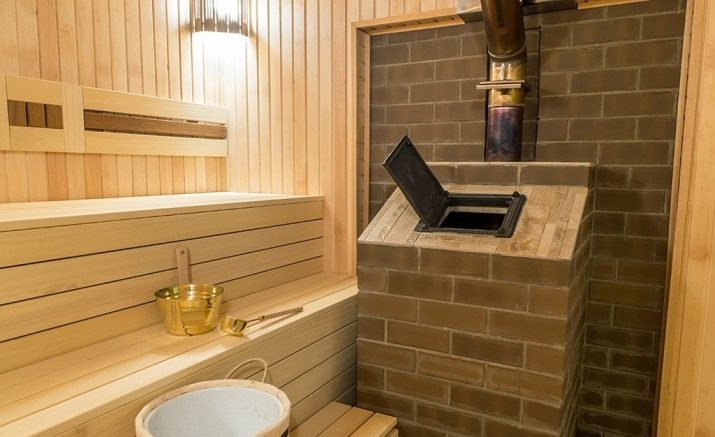
Brick stoves for a bath: types, advantages and disadvantages
Few can doubt the benefits of bath procedures, and many dream in a sauna.
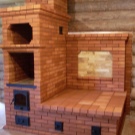
To build a brick stove for a bath, according to the forces, not only experienced stove-makers, but also beginners. Following the instructions and recommendations, you can build a bath in your own area and create not only a comfortable place to relax, but also build an architectural masterpiece.
Special features
Nothing gives such a pleasant warmth, comfortable atmosphere, easy breathing, like being in a bath with a brick oven. In order for a self-built stove to turn out at the proper level, it is necessary to strictly follow all instructions. Even with small skills in construction, you can make an excellent furnace for the bath.
First of all, you need to decide which version of the furnace is more suitable for a particular room.
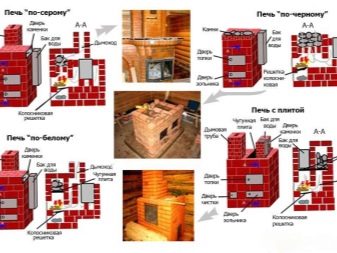
Consider options for sinking a brick furnace for a bath:
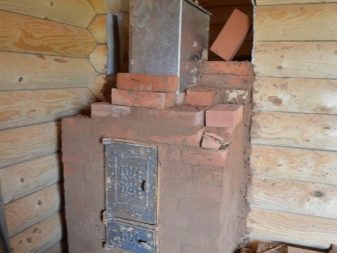
- On black. Such stoves have been particularly popular in the villages for many years. The peculiarity of this design is that there is no chimney, so steam and aroma in the room will be enough. The disadvantage of this option can be called that you need to wait until the fuel is completely burned.
- Over gray. This option is more economical. The stove has a chimney, so the room warms up faster. Like the previous version, there is a drawback: you must wait until the firewood is completely burned.
- Over white. This option can be called the most worthy, since when it is used indoors there will be no traces of soot, and the room will remain warm for a long time. But it takes a long time to heat such a furnace, which is not always convenient to use.
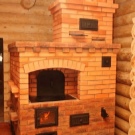
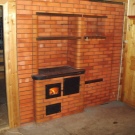
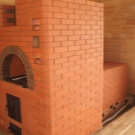
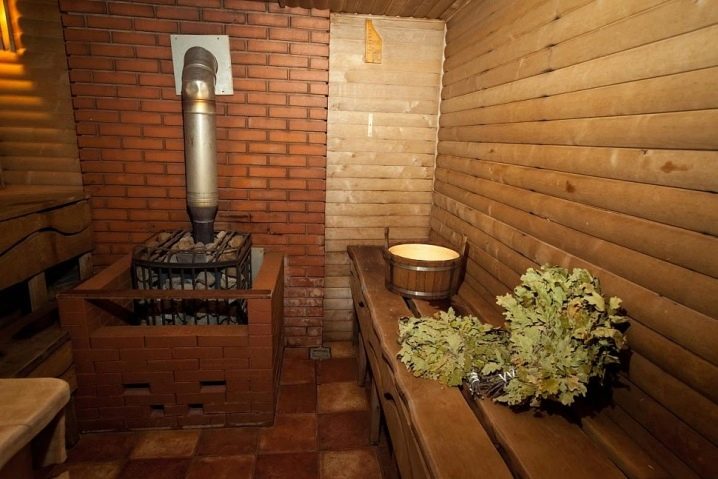
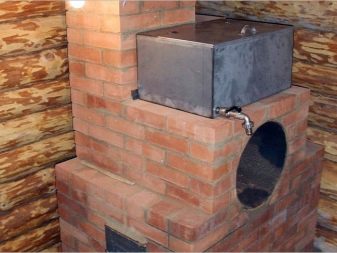
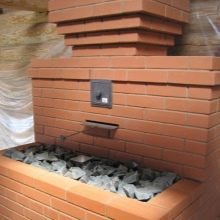
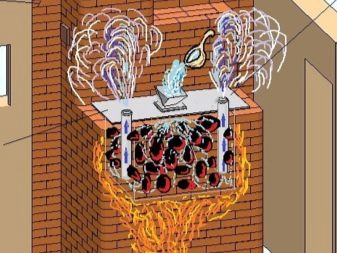
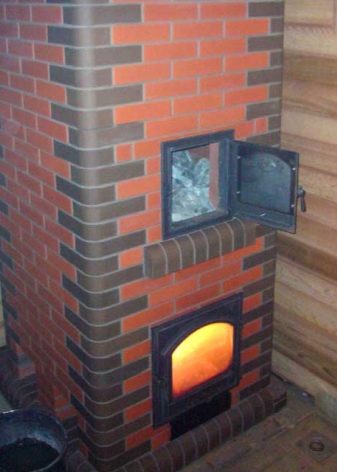
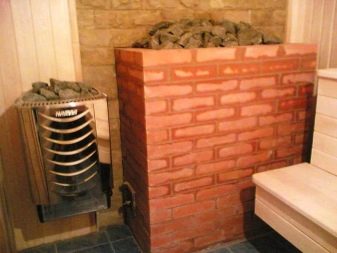
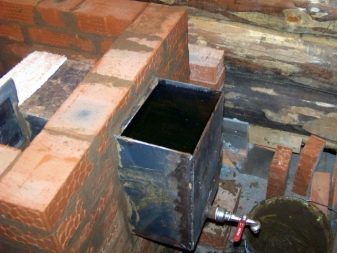
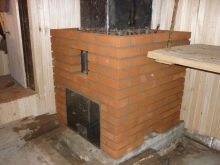
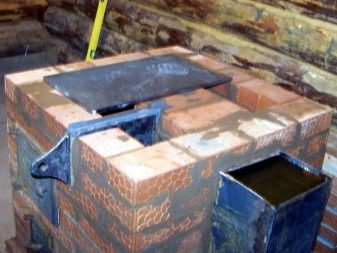
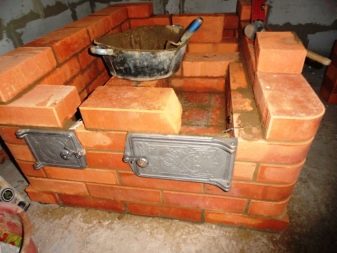
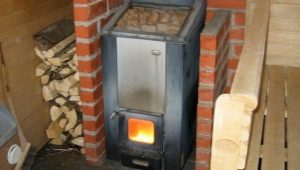
- With stove. This option for the bath can be considered the most successful. The design consists of a tank, which is installed on a plate of cast iron, bath stones. The tank is closed from 3 sides by a brick wall, due to this, the water temperature remains high for a long time.More often, the tank is installed on top of the firebox, and stones are laid over the chimney, but sometimes both the tank and the stones can be placed in a different order.
The simplest option can be called the construction of the heater, which you want to heat over gray.
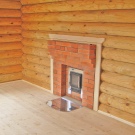
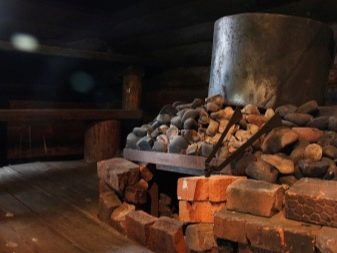
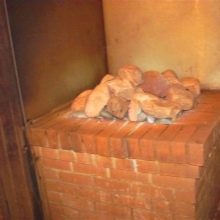
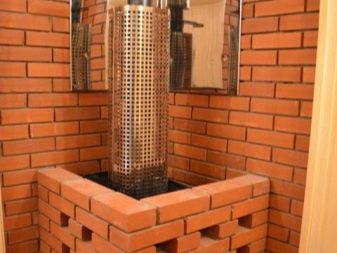
Kamenka will not leave indifferent couple lovers. This design consists of a combustion chamber above which the stones are placed.
Due to the thickness of the bricks and massive stones, the room will keep warm for a long time. After the procedure, the room is ventilated, water is poured onto the stones to remove the soot. After cleaning the room is ready for new procedures.
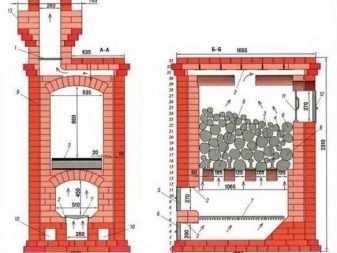
The stove for a bath may be different in size, but most often you can find options with the size of the base 890 * 1020 mm, which corresponds to the laying of 3.5 * 4 bricks, or with a size of 1020 * 1290 mm (laying 4 * 5 bricks). The standard height of the stove can be 168 and 210 cm, not taking into account the height of the flue pipe.
The choice of the type of furnace must be individual. When choosing, it is worthwhile to study various materials, see photos and videos, study projects and then make the final choice.
Advantages and disadvantages
There are many models of stoves for a bath. This design is made of brick or iron, which can be purchased in stores or made independently.But will it be more economical to make a self-made model of the stove or should you prefer store options, you should understand.
Since ancient times, people have poured water on hot stones to bathe and cleanse their bodies in order to enjoy the hot steam. Later, they began to put stoves that were drowned in a black way, and water was also splashed onto the stones from the ladle to form hot steam indoors. Modern designs have a chimney, but some lovers of the Russian bath are still steaming in the black.
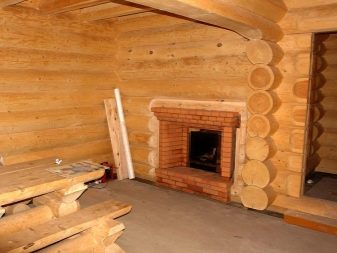
A brick or stone oven has many advantages:
- the room is warm for a long time;
- excellent quality steam;
- have greater power, able to heat a large area of the room;
- do not require additional measures for fire protection;
- pleasant microclimate;
- even at very high temperatures, the material does not emit toxic substances;
- thanks to the aesthetic appearance, you can create an unusual atmosphere in the bath.
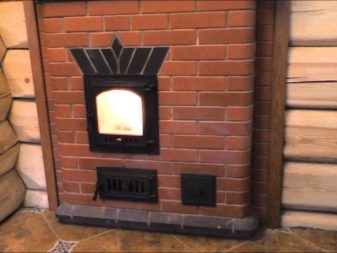
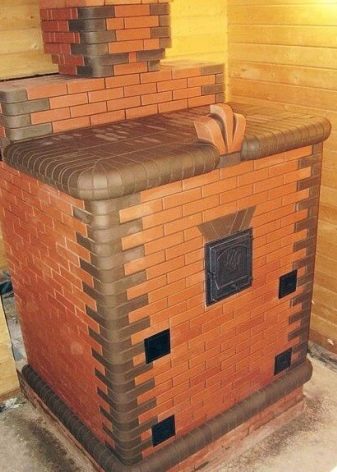
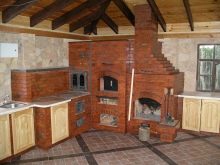
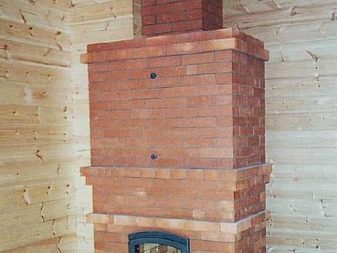
The material for the production is brick, it looks very beautiful, so you can not do the finishing work in the form of cladding or plaster. But if you want, You can use decorative trim stone or tiles, tiles.
Having made a brick oven with your own hands, you can enjoy the result of your work for many years, carry out bathing procedures, enjoy the pleasure of being indoors with a pleasant steam. Since a brick was chosen for construction, which is able to accumulate heat when heated, it will keep the temperature in the steam room for a long time.
The fuel used is improvised materials, which can be found on any household plot in the form of twigs, sticks, dry grass, slivers, moss, or purchase raw materials in a store.
If you want to make an experimental version, rather than a simple design, you should turn to the help of specialists, otherwise there may be flaws in the work. If technological errors are made, the furnace can heat up for a long time and keep the temperature poorly. In addition, wood or other fuel will have to be used much more.
Brick furnaces may have disadvantages:
- the construction has a lot of weight, so it is necessary to build the foundation;
- the high cost of the material, including bricks, steel and cast iron elements;
- payment to a professional stove, if you do not carry out all the work yourself;
- masonry should be perfect, otherwise, instead of joy during the bath procedures, you can get problems;
- Long heating time - about 3 hours.
The simplest option would be to purchase the finished product. If we consider more simplified options for a bath, you can stay on the metal furnaces.
Kinds
The brick brick stove can be divided into two categories:
- permanent action;
- periodic action.
In the first embodiment, the place for the stones will be on metal flooring or in a box. In this case, the heating of the stone backfill does not occur by fire, but heat is transferred from one material to another. But in another case, the fire will pass directly through the stones.
When choosing a sauna stove, many do not quite understand the difference between a Russian and a Finnish sauna.
For a Russian bath, the optimum temperature will be 60 degrees at a humidity of 50%. More suitable stove made of brick with a closed heater. In the Finnish bath, the temperature reaches 90 degrees with a humidity of 5-15%. The higher the humidity, the lower the temperature will be; with its increase the steam will be significantly less.
It is important to understand that heating and cooking brick oven can not be used for the bath. The construction of brick for the bath is very different from the household household furnace. For a household oven, the main task is to heat the structure itself and use it to obtain and maintain heat.
For a bath furnace, the main task is to maximize the heating and use of stone backfill to maintain the required temperature in the room and to create steam.
The division of furnaces into types is also determined by the choice of fuel necessary for it. You can opt for the unit, which operates from the mains, wood or gas.
Each unit has both advantages and disadvantages. Wood-burning stoves are considered inexpensive and reliable. The unit, which works only on wood, is more suitable for areas where there may be interruptions in electricity or gas. When installing in the bath design, which only works on wood, you need to understand that it will quickly be difficult to heat up the steam room. In addition, the necessary temperature should be maintained independently, as well as the removal of ashes from the stove. A brick oven allows the use of various fuels.
Even the smallest simple stove for a Russian bath should not be built without a detailed scheme. Before you begin, you should write a detailed plan, draw the drawings, specify the desired dimensions.
When studying all the issues it is important to understand that the arrangement of the stove for a bath is impossible without compliance with the rules on fire safety.
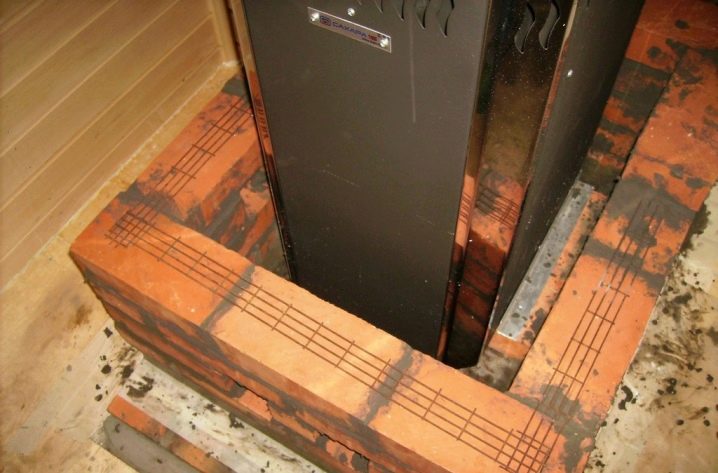
A brick product should be erected near the wall opposite to the shelves in the steam roome. When creating a project you need to consider that the distance between the heating part of the unit and the place supporting combustion should be at least 40 cm. When choosing a special protection, for example, from asbestos cardboard, the distance can be reduced to 20 cm.
If you plan to bake with a water tank, then a good and high-quality product can be welded independently. The main thing is not its manufacture, but installation. Before starting work, you should decide on the displacement of the tank for water heating. The design can be both closed and open. Experts recommend using an open container, as it will be much more convenient to fill it and look after it. Do not leave water in the tank in the winter so that it does not freeze there..
No one will argue that the bath is not only for washing the body, it is a place for relaxation, here you can get rid of ailments and simply raise your vitality and mood.
It depends on the quality of the procedure that the furnace can be correctly folded in the steam room. One one of the most popular models is a stove with a firebox in the dressing room.
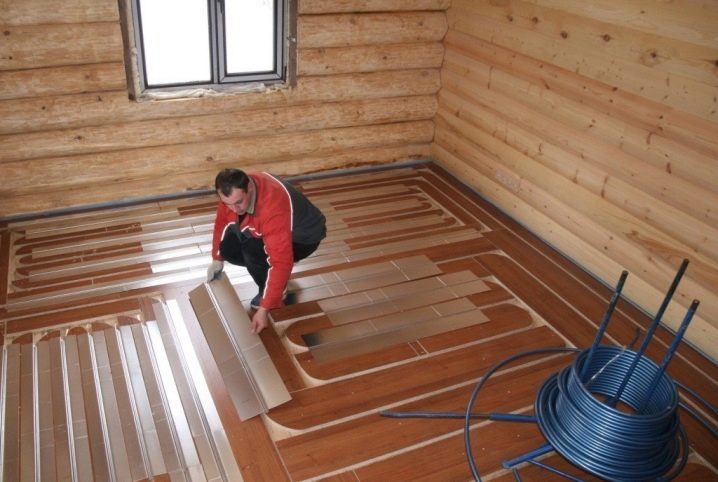
For maximum comfort, you can build a heated floor in the bath. This design has long been familiar to the owners of the pair. In addition, for its use does not need to connect to the mains, because the coolant is hot water heated by the furnace. When using a metallized substrate, thermal energy will not be wasted.
Material selection
In carrying out the installation of the stove, it is necessary to prepare the necessary tools and materials. The main material for the construction of structures for the bath is a brick.
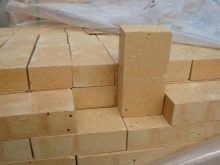
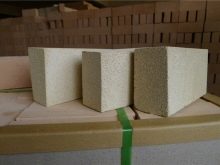
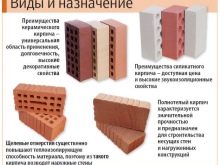
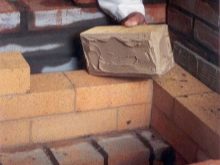
In the construction of furnace structures more often use two types of bricks: fireclay and red brick. Fireclay brick has a pale yellow color, it is made of refractory clay. It has the best characteristics in comparison with other types of material, but the price of such a product will also exceed the price of analogues.Chamotte brick can withstand high temperature very well, it is placed in areas that will be subjected to prolonged heat stress. It is ideal for laying out the space near the furnace.
Red brick is used for other elements of the structure. It is possible to make a stove only from fireclay bricks, but its cost is much higher than red, therefore the combined masonry will make the construction cheaper.
When purchasing material for the furnace, it should be carefully examined. The standard brick size is 125 * 250 * 65 mm. A slight deviation of 2 mm is allowed. When viewed need to make sure there are no cracks and chips, only minor grooves and thread-like cracks are allowed. When choosing a material, make sure that the material meets the specified parameters. Sometimes products from different manufacturers or even different batches of the same manufacturer may differ.
The furnace must be perfectly flat, so the bricks must be the same size.otherwise, smoke will begin to seep through the gaps and, over time, the firebox may fall apart. It is not recommended to purchase a product with a film.which resembles mica.This means that during the manufacturing process a marriage was allowed.
When purchasing a brick, you should do it with a margin, as in the process of laying you will need to cut it. To cut it to the desired size, you can take a grinder with discs.
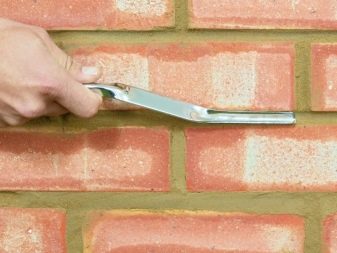
When building a house, the seam between the bricks may be up to 10 mm, for furnaces such thickness is simply unacceptable. Already at a thickness of more than 4 mm with constant heating, the seam will begin to crumble, and smoke will begin to enter the room.
In addition to the basic material, you should prepare:
- tank where you can soak a brick;
- clay and sand for mortar;
- capacity where the solution will be mixed;
- sand screen;
- smoke pipe, which can be purchased at a store or made independently;
- steel wire, which will be needed when installing the furnace and the door blew;
- goats for work at height;
- roofing material, asbestos;
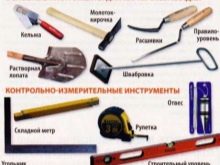
- construction tape, rope, level, pencil.
To check the quality of the material, it is necessary to slightly hit it. If after a strike, a ringing sound is heard, it means that the brick is free of defects, but if there is a deafness, most likely there is a crack.
Once again we recall that it is better to choose fireclay and fireproof red bricks, but heat resistant alumina and clinker bricks may be suitable for the furnace. Fireclay bricks are taken to lay out the core of the fire, the other options are used to enclose the external walls and decorative elements.
The color of the material may indicate its quality. It must be uniform. Non-uniform color means that the product was uneven, so the strength of the brick in different areas will be different.
It is advisable to choose one brick and break it to inspect. There should be no extraneous inclusions, and the color should be without dark spots. If there is a dark color in the middle, such a brick should not be used for the construction of a furnace or other buildings..
To make a high-quality lining of the furnace, you should choose a material marked with the letter “M” with numbers that indicate the permissible load per 1 square meter. cm. The best choice would be a brick with a brand of at least M-150.
Once everything is prepared, you can proceed directly to the work itself.
Stages of construction
Any construction work must be carried out according to the instructions, diagrams and drawings. When drafting a future bath, you should indicate the important features - the appearance of the structure, the variant of the masonry and the location of each individual brick, because the service life will depend on it.When building a brick furnace for a bath, one cannot do without the advice of an experienced stove. Among the many options of masonry is to choose the most suitable for a particular room. When drafting a project, you can make any changes and adjustments.
Regardless of which clutch method was chosen, the project consists of the main elements:
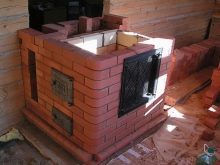
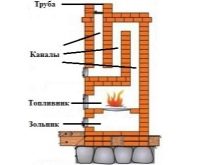
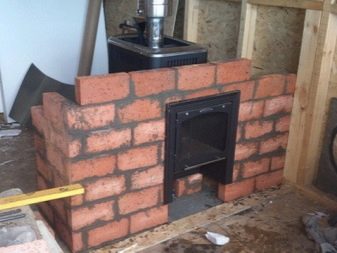
- from the firebox, which is best laid out of refractory (fireclay) brick;
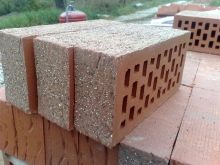
- chimney, for which choose a red ceramic or hollow (silicate) brick;
- water tank;
- an ashpit, which usually consists of a cast-iron stove, a firebox, and a furnace, where bath accessories are stored.
Foundation
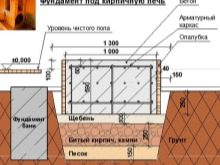
The design must be durable and reliable, therefore, without building a solid, reliable foundation is indispensable. In principle, the basis for a bath stove is very similar to the arrangement of strip foundations.
To create the foundation you need:
- Mark the foundation and drive the pegs in the corners.
- Between the pegs to stretch the rope to make it easier to navigate.
- The size of the site must comply with the dimensions of the base of the stove. The pit is dug 60 cm deep, a 15 cm hole is expanded to the side by 10 cm below.
- The lower part of the foundation is covered with sand, and a layer of broken brick or crushed stone is poured on top. Poured crushed stone is tamped down and the waterproofing layer is laid in the form of roofing felt.
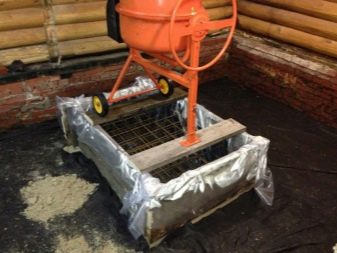
- Further along the contour of the pit, formwork is mounted. For its assembly is to take the boards and screws.
- A reinforcing mesh consisting of rods is laid in the pit. Between the wall of the pit and the grid you need to leave a gap of 5 cm, for this take a stand or other clamps.
- Concrete is poured into the pit, leaving 15 cm to the surface, and the tip should be leveled. This gap is needed for laying the starting row of bricks.
After that, the casting should be allowed to stand for 5-7 days, and then dismantle the formwork. Pour gravel into the voids, cover it with bitumen and lay a layer of roofing material. This procedure should be repeated. Such a two-layer insulation will protect the furnace from groundwater.
Preparation of the solution
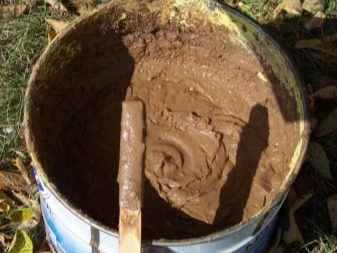
Conventional cement solution is not suitable for the construction of the furnace, as it does not tolerate high temperature. To prepare the solution for a bath stove, you must take the clay and sand. The best option would be to use red or chamotte clay., it will provide longer service life of the structure. In addition to clay, it is necessary to prepare sand that is sieved beforehand through a sieve. Thus, debris, small pebbles, and silt inclusions are removed.
There are also specific requirements for the water used for the solution. It should be clean, without a musty smell..
To lay hundreds of bricks, you must use up to 20 liters of water.
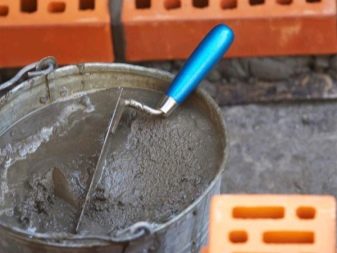
Clay for the preparation of the solution must be kept for several days in water so that it is soaked. Before working, the clay is diluted with water, sand is added and the solution is made to a thick cream.
Using a nozzle or construction mixer, get rid of the clay lumps and make the solution ready for use. To determine the optimal viscosity of the solution, it is recommended to lower the stick into the solution and shake it off. If after shaking the layer of solution on the stick remained more than 3 mm, you should add sand. If it is less than 2 mm, you need to add clay. The consistency of it should be reminiscent of clay. The optimum layer thickness should be 2 mm.
Bricklaying
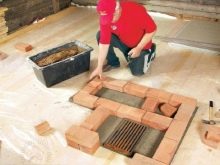
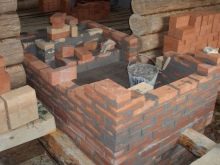
If a brick stove is placed for the first time without special skills, a small model will suit you, which will not be too complicated. The simplest option is the arrangement of the furnace and ash chamber, the installation of a water tank, a place for a chimney. Fold more serious design can be the accumulation of a certain experience in the furnace business.
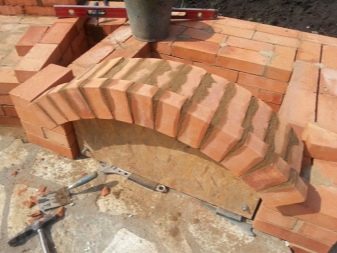
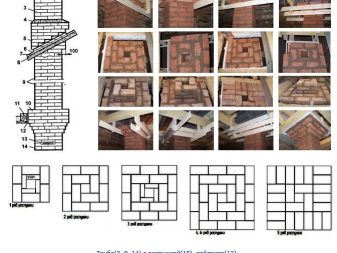
In order to build a high-quality stove in a bath, order is needed, that is, a detailed scheme of where the bricks will be placed.
Experienced masters advise you not to regret time and build the lower part of the furnace without using a solution.
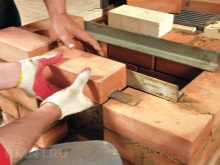
In the process, the selected bricks are numbered, made notches, prepare pieces of the desired shape and size. Only then can you begin work using the solution.
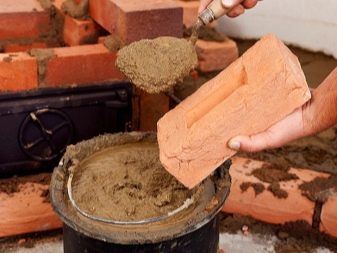
Before starting work, the bricks are soaked in water until bubbles appear, this will improve adhesion and prevent the solution from dehydrating. Using chamotte brick, it is immersed in water to remove dust.
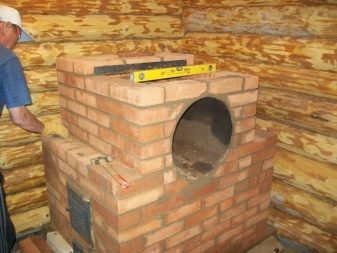
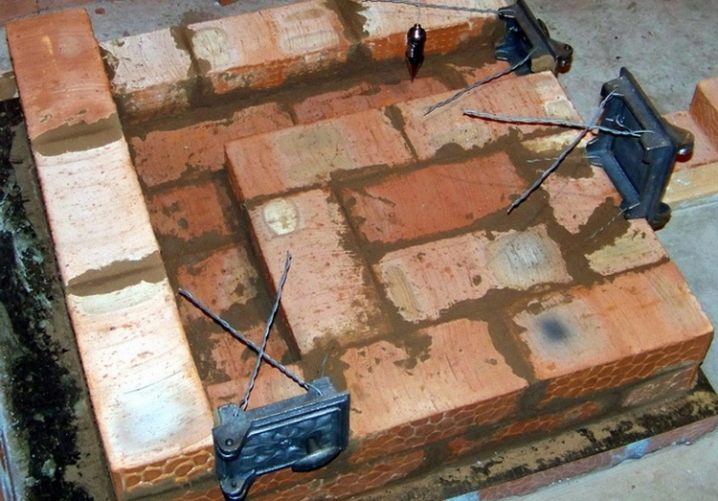
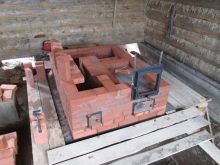
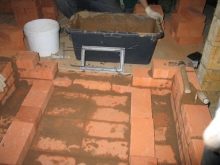
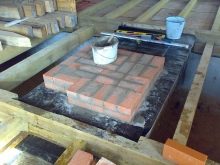
Laying pattern should start from the zero row. This is done in order to bring the foundation on one level with the floor. The first row spread with great care. Using a plumb line, the vertical of the furnace walls will be checked further along the bricks of the first row.
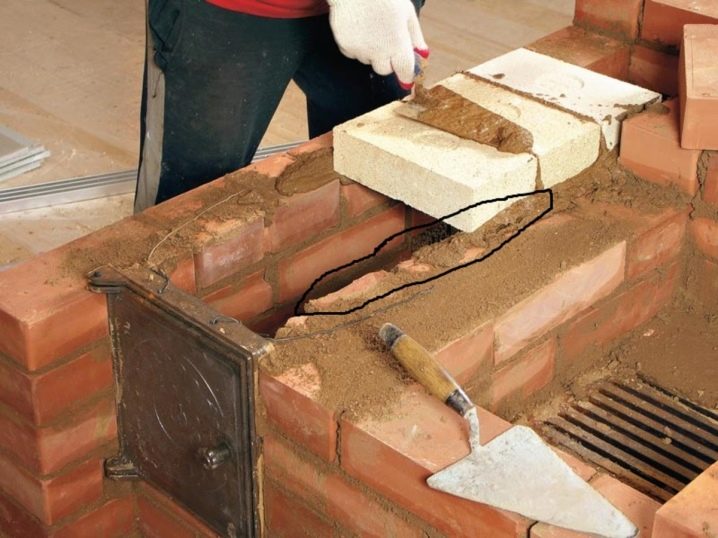
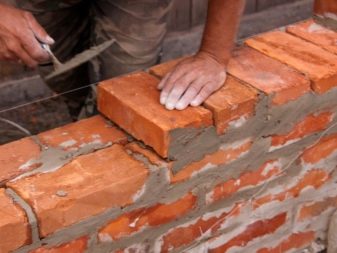
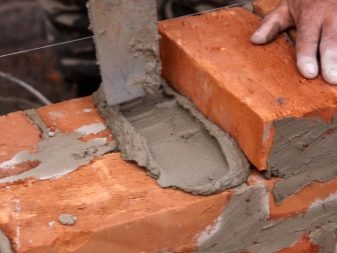
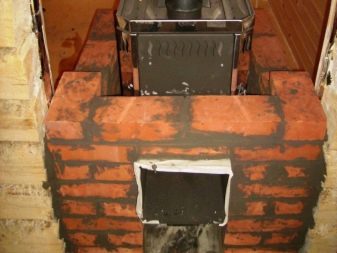
When laying the first row of it, put it dry, not using the solution, in the future the layer of the solution should be 3-6 mm. The mortar is coated with the tychkovy part of the brick and the whole layer.After laying the brick pressed, tapping with a trowel. To make the structure more durable, bricks lay out with the displacement of the next row up to 50%, blocking the joints.
Masonry do according to the order, with:
- the solution is applied to the previous row;
- the smooth side of the brick should be directed towards the chimney;
- Vertical and horizontal checks are made after each row;
- After 3-4 rows it is necessary to remove the residual solution.
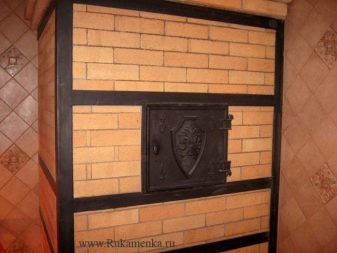
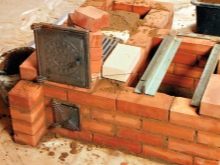
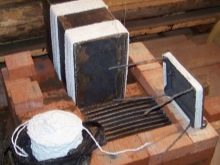
To fix the door of the blower in the 3rd row, take galvanized wire or a strip of steel and fasten it in the corners. Using the grinder, grooves are cut in the bricks, iron wire will be lowered there. Place a touch of the door with a stove isolate asbestos.
In the 5th row under the corners of the steel cut out the notches. Grate bars are laid on the corners. In case of their burnout, they can be easily replaced with new ones. In addition, expanding when heated, the grate will not destroy the laying of bricks. At this stage, begin to engage in the combustion chamber, then continue to raise the outer wall.
For the formation of the combustion chamber using fireclay bricks. After the firebox, a cast-iron plate is mounted on which stones for a bath will later be laid out.
To determine what capacity is needed for the tank, it is calculated that about 10 liters are spent for washing one bather, the same amount goes to steam the broom.
To make the design more reliable, every 4 rows are reinforced between the rows.
After stopping the furnace, the installation of the valve will proceed to the formation of the chimney.
Chimney
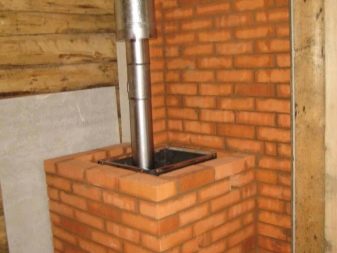
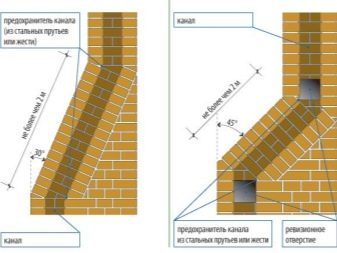
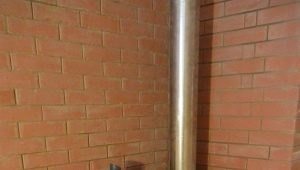
When building a chimney, it is taken into account that a pipe made of iron will cause condensate when temperature drops, which will lead to accumulation of soot in the pipe, so you should choose a brick for the chimney.
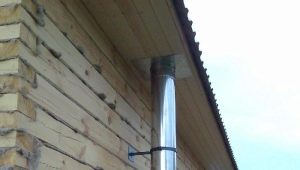
The size of the chimney should correspond to the size of the furnace design. After the chimney is folded down, it is removed above the roof to a height of at least half a meter.. Usually for the chimney is taken asbestos pipe, which is lined with bricks.
How well the work will be carried out will depend on how the smoke is removed from the room.
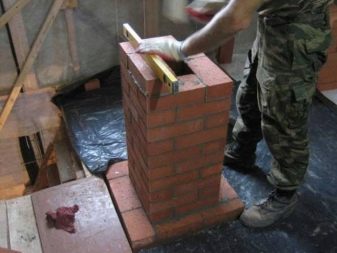
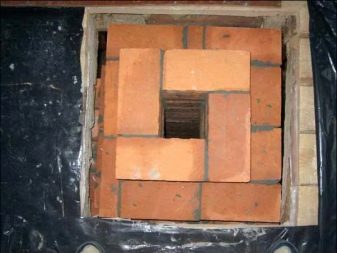
Only whole bricks should be placed in the chimney so that halves or cracked elements cannot fall out. The chimney should be laid out very carefully, the surface should be absolutely flat, otherwise dust and soot will accumulate in the gaps, which will lead to a rapid clogging of the mine.
Canal chimney can not be narrowed. When building take into account that it the length from the grate to the edges of the pipe should not be less than 5 meters. If you make it smaller in size, the smoke will not be able to cool quickly, and the heat will begin to fly into the chimney.
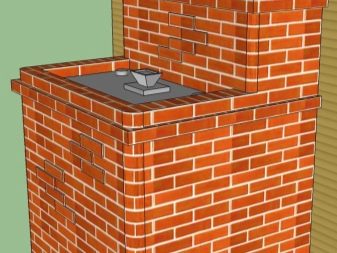
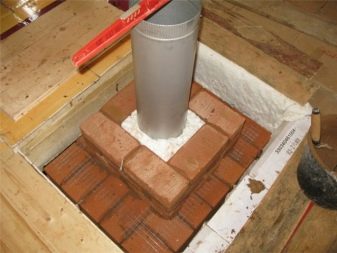
In order to protect the ceiling from fire, it is wrapped in heat-resistant material at the point where the pipe passes through the ceiling and is covered with brick. The chimney on the outside is covered with lime. In the case of smoke leakage, you can immediately understand where it is going.
After all the work has been completed, the stoves are allowed to stand for several days to dry. For this, the doors and windows in the room are left open.
Then make a trial kindling. To do this, take small chips and heat the stove for 10-15 minutes. This is done several times over several days. If there is condensation on the unit, this means that it has not completely dried up. After the final drying, you can use the stove constantly.
Surface finish
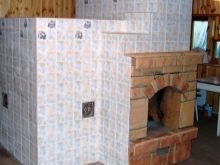
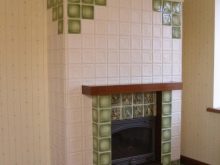
If you wish, you can make the finish. Among the most popular options worth noting tiling. This option is not difficult to do, besides the material for finishing is not notable for its high cost.
To ceramic tiles kept well, you need to choose the right material. Consider the optimal tile options:
- Terracotta. It is made by dry pressing with a color base. The tile has good adhesion, high strength, porous base.
- Majolica. It is made in the same way as the previous version. Such products look very beautiful due to the application of glaze.
- Clinker. It is produced by combining a mixture of different clays with the inclusion of chamotte powder and dyes. Adding refractory powder makes stove tile the best option.
When facing the furnace it is necessary to consider how the tile or other material will fit into an interior of the room.
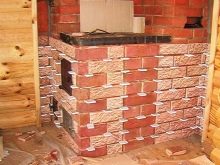
It is possible to finish the stove for a bath with a decorative brick or stone. To do this, use porcelain, marble, granite, serpentine.
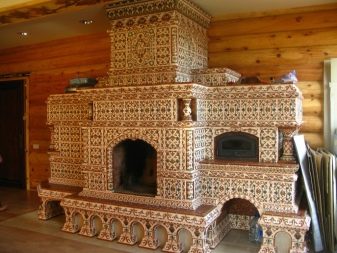
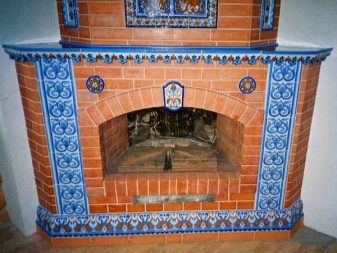
It has long been used to veneer rustic stoves and portals with tiles, such a device is now very popular.
In addition to the beautiful appearance, the tiles will add additional properties:
- prolonged heat transfer;
- high heat capacity;
- hygiene.
With proper care, decorative items will long please fans of bath procedures.Care of products consists in regular wiping them from dust and soot, if the elements are damaged, they are restored and replaced.
The video below provides detailed instructions for laying a brick bathhouse.

