How to attach a gazebo to the house?
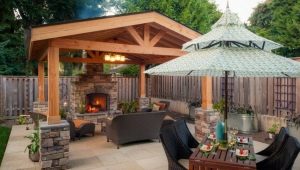
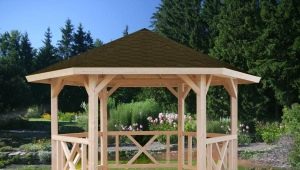
Not everyone has spacious plots, but you want to arrange a corner in the country where you can relax with friends, chat with loved ones, or just sit alone with your favorite book in your hands. In this case, an excellent solution is the option of an extension gazebo to a private house.
Features and benefits
This design idea has several advantages. Attached gazebo can be made open or closed. In the first case, you need to take care of protection from the wind, and in the second - it is possible to equip another room, greenhouse or conservatory. In the spacious gazebo, the installation of a barbecue or a barbecue is permissible. It is important to consider not only the device chimney and roof insulation, but also the installation of the foundation.
The bearing wall of the building will be one of the walls of the house, which will significantly save money. It will be convenient to use the gazebo if you attach it to walls with window or door openings. It is optimal to build a gazebo near garden trees.The extension is compact and does not take up much space, and since one of its walls is the wall of a house, it will be reliably protected from the wind. A small structure looks original, it is often sought to decorate with carvings or a combination of various modern materials, but the best decoration for it was and remains the indoor plants, pleasing the eye with fresh greenery.
Project
A well-thought-out project will not only determine the appearance of the structure, but also allow it to build a high-quality, durable structure.
Before construction work should clarify a few important points.
- Determine which soil features in a particular locality - it is necessary to lay the foundation. Thus, the foundation, established on sandy or rocky soils, does not require digging a deep pit, and the foundation, erected on clay or sandy soil, needs more depth.
- Calculate the dimensions of the building. The optimal area for comfortable rest is four square meters per person. This parameter can be increased or decreased, and the height of the arbor should be at least two meters.
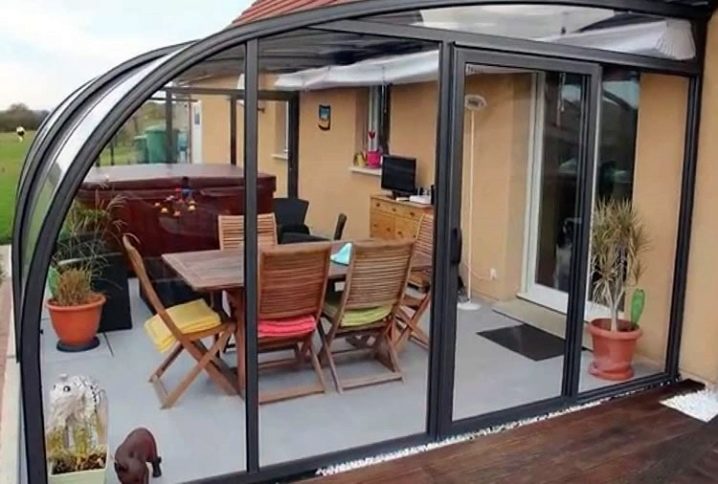
- Decide whether there is a grill, a fireplace or a summer kitchen in the gazeboand also to decide what kind of arbor you want to build - open or closed. You can make a removable glazing, allowing in a few minutes to turn an open gazebo into a closed and vice versa.
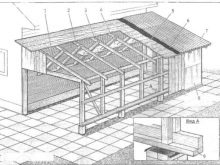
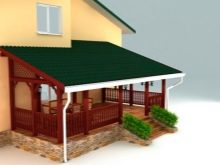
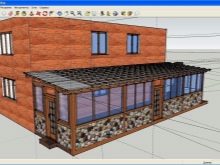
The most simple is the plan of a rectangular gazebo with a shed roof. But it is also realistic to build a gazebo under one roof with a country house like a shed or to build a veranda or terrace.
Tools and materials
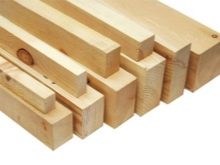
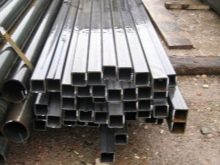
For the construction of pavilions choose durable, environmentally friendly and versatile materials, differing in availability, light weight, excellent performance and ease of installation. The main material is a wooden bar with a thickness of up to five centimeters, boards and slats. Immediately before using the wood should be treated with special protective compounds. In addition, you will need metal pipes for the base and a concrete mixture of gravel, cement and sand.
The framework is made both of a wooden bar, and of steel or polymeric pipes. It is worth stocking up furniture in the form of corners, screws, nails and anchor bolts.The flooring is covered with boards, as well as with concrete, porcelain stoneware or paving tiles. Wooden coating requires more care, so it is suitable for a gazebo closed type. The floor of the open arbor is recommended to be laid with materials resistant to aggressive environmental influences. For the arrangement of the roof will need a solid frame of timber and crates.
The rafters are treated with refractory and antiseptic agents, and the roof of the arbor is covered with any material similar to the roof covering of the house. It is quite possible to create a stylish fashionable design using sheets of matte, transparent or colored polycarbonate, allowing you to realize the most daring design ideas. Before construction, in one of the sheds it is necessary to find a place where the necessary tools will be located: a circular saw, a concrete mixer, a shovel, a tape measure and a building level. And also it is worth remembering about a hammer and a screwdriver. Once everything you need is at hand, you can proceed to construction work.
DIY building
In the construction of the gazebo attached to the house there are a lot of nuances - this is the location of the site, the appearance of the house itself, and the combination of materials of the building and the country house.You should consider only general recommendations for the construction of gazebos, which can be easily customized for a specific case.
Foundation
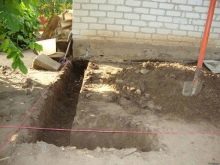
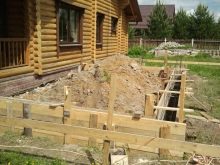
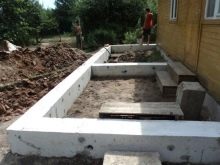
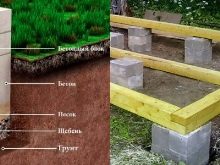
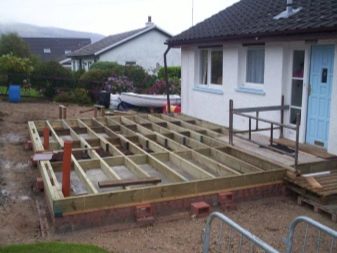
Immediately before the start of construction in the selected area perform the markup, driving in pegs around the perimeter of the future gazebo and stretching the ropes between them. After marking the territory, they start to build the foundation. For the constructions attached to the house, specialists offer several options for the bases. So, the tape base is most appropriate if the arbor was designed with the house. But his device is necessary if the plans for the construction of the construction of brick, stone or block construction.
You must perform the following steps to install the strip footing:
- start with digging a trench from 30 to 40 cm of depth along the perimeter of the future gazebo;
- after that, formwork is installed in the pit, a layer of gravel is poured, and concrete is poured;
Further construction work is allowed to be performed only a month after the foundation has been strengthened.
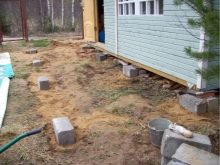
If the idea of an attached gazebo appeared after the construction of the house, and plans to install a light construction, then It is recommended to equip the column base as follows:
- you need to dig holes in the corners and perimeter of the future construction, as well as in places where floor joists will be laid;
- Pour a layer of rubble and sand at the bottom of each pit, compact it, install a reinforcing mesh over the entire height and shed sand with water;
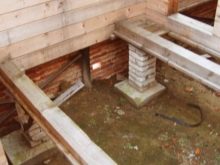
- when water is absorbed, it is necessary to lay roofing material on the bottom of the pit for waterproofing and install brick or concrete pillars;
- after installation, make sure that the pillars are at the same level; if everything is in order, you need to install wooden formwork and fill the pit with concrete;
- in 2-3 weeks you can proceed to the next stage of construction work;
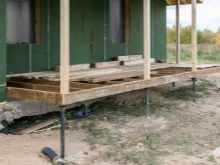
Another simple and low-cost version of the base is a pile foundation, installed using asbestos pipes or prefabricated metal piles. For the former, dig holes should be dug, a pipe with steel reinforcement should be installed in them and concrete should be poured. The finished metal piles are simply screwed into the ground.
Frame
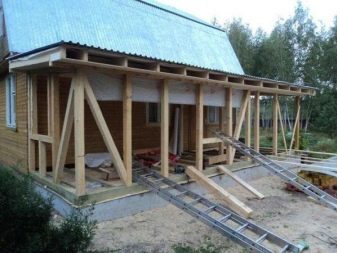
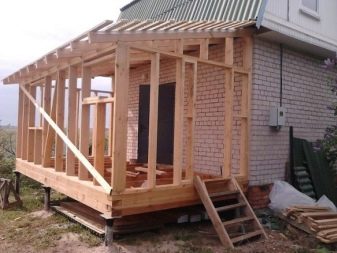
After the installation of the foundation should proceed to the installation of the frame of the future construction.
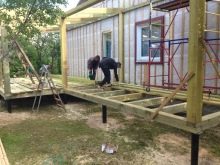
To assemble a wooden frame, you must perform several steps.
- It is necessary to take the bars section of 100x100 mm and make gash using the half-tree method to connect them. They also drill holes in which they put the corner pins. The bottom trim should be assembled and installed on the foundation.
- Four beams should be measured and cut to the desired height. At the top of each beam, they make a sawn area of 40x100 mm to fix the diagonal ligament. The pins are inserted into the holes that are drilled from the ends of the bars of the bottom trim.
- Prepared bars should be installed on the pins, check their verticality with a building level and fix with the help of temporary diagonals.
- Boards with a section of 40x100 millimeters are sawed along the edges and connected to the pillars and among themselves in half a tree. It is acceptable to connect elements with metal corners to speed up the process.
- Diagonal knitting should be strengthened in the middle with the help of bars, its ends should be inserted into the cuts of the pillars. Then it is necessary to make the top strapping of the structure.
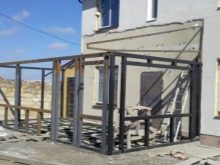
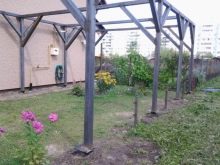
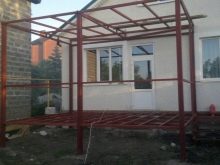
If the longevity of a metal construction is attractive, then a few tips for assembling it are worth considering.
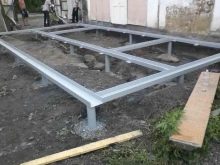
- If you build a gazebo on a strip foundation,you need to install support pipes in the ditch with installed formwork. To expose them vertically with wooden slats, which are fastened to the steel with clamps. Link all the pipes from above into a single frame and pour the foundation.
- If the choice fell on a column foundation, then there are two options for assembling the frame. The first involves the joining of dug pipes with bearing racks: they are either welded or fixed in the poured concrete. The second involves the installation on the foundation of the lower base, made of channel. The final stage of work is the welding of vertical posts.
Roof
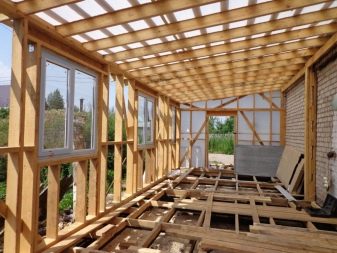
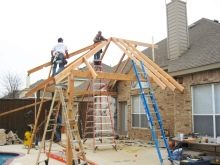
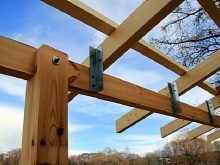
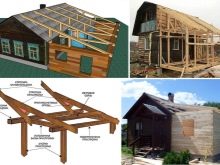
It's time to collect the roof of the future gazebo. The wooden structure is assembled from a bar with a section of 100x100 mm - it is intended for columns. Boards 50x100 mm needed for the device rafters. On the bars with a length of 80 centimeters make cuts 50x100 millimeters. On each board, you must make a cut to connect them with the pillars. Rafters need to be connected with each other and with the columns in the half-tree method.
The prepared roof is connected to the already installed frame. To do this, the structure must be set up in the proper place, having traced that the piece of timber located in the center is in an upright position, he himself relies on the intersection of the ligament.Rafters protrude 40 centimeters beyond the frame, the remaining rafters are attached to the roof overlap. For the roof of a metal gazebo perform triangular rafters. If their length is more than one and a half meters, several additional struts should be attached from the inside. The recommended angle of inclination of the roof is 10–15 degrees, but for the built-in arbor it can be done more so that no precipitates accumulate on the roof.
After the roof is attached, it is worthwhile to proceed with the installation of the batten, the device of which is directly connected with the selected roofing coating. So, for a roll or soft roof, as well as for flat slate, they make a continuous crate.
If sheets of metal roofing or corrugated slate are chosen, a sparse crate should be prepared. Whichever option is chosen, there should be no knot or hitch on the crate, which can damage the roof. Upon completion of the work, you can begin to decorate the building.
Registration
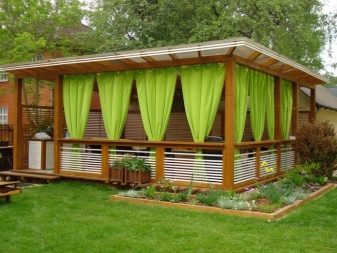
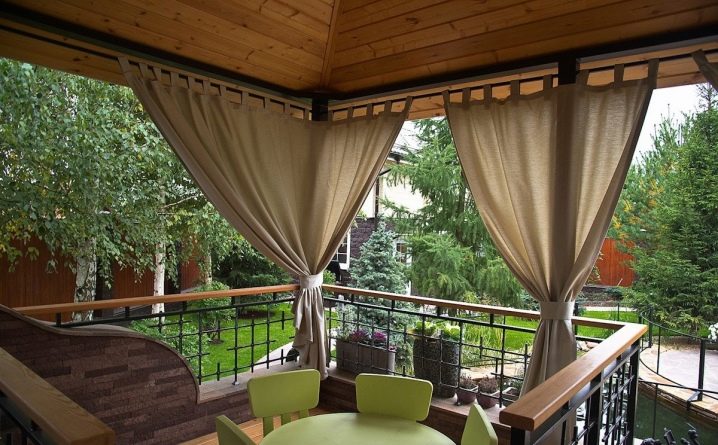
Arbor should be an organic addition to the house, so you need to arrange it simply and beautifully. The natural decoration was and remains green plants that surround the arbor.Bright flowers in flowerpots and sprawling bushes will not only please the eye, but also give coolness on a hot summer afternoon. The decoration with Roman curtains, which are rectangular cuts of light or translucent fabrics, is gaining popularity. During the day, they protect from the scorching sun, and in the evening they create a cozy atmosphere.
If the house and the plot are decorated in a certain style, it is quite possible to make an arbor according to personal preferences.
- worthy decoration of the site in style Russian country there will be a carved arbor-teremok;
- izba gnomes or trolls will not leave indifferent fans Scandinavian style;
- Chinese pagoda will create a romantic atmosphere East;
- Japanese rotunda made of wood plunge into a fabulous setting Land of the Rising Sun;
- style lovers high tech prefer to arrange an arbor with metal, plastic or glass elements;
- fans eco style they will try to turn the building into an arched gallery decorated with fresh flowers;
- followers Mediterranean style prefer a cozy bungalow with a roof of reeds or reeds and wicker furniture.
Beautiful examples of extensions
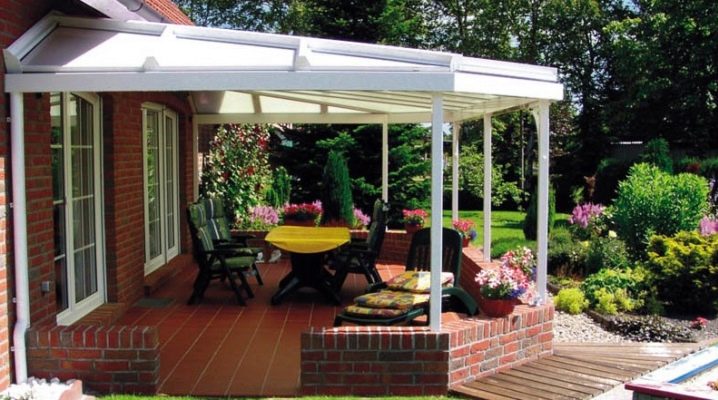
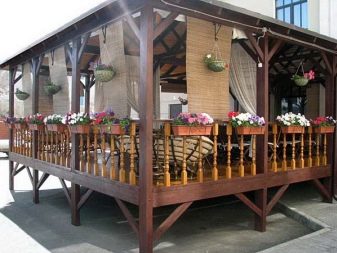
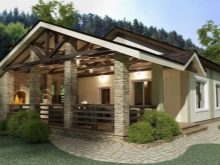
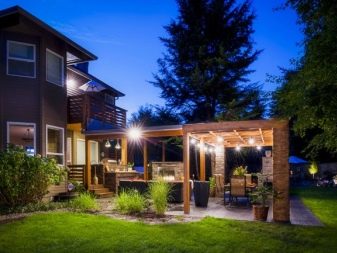
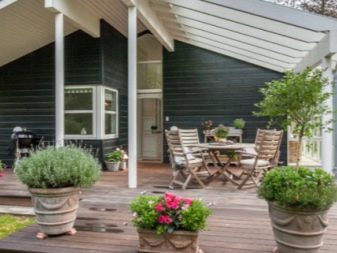
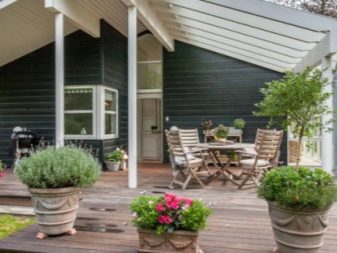
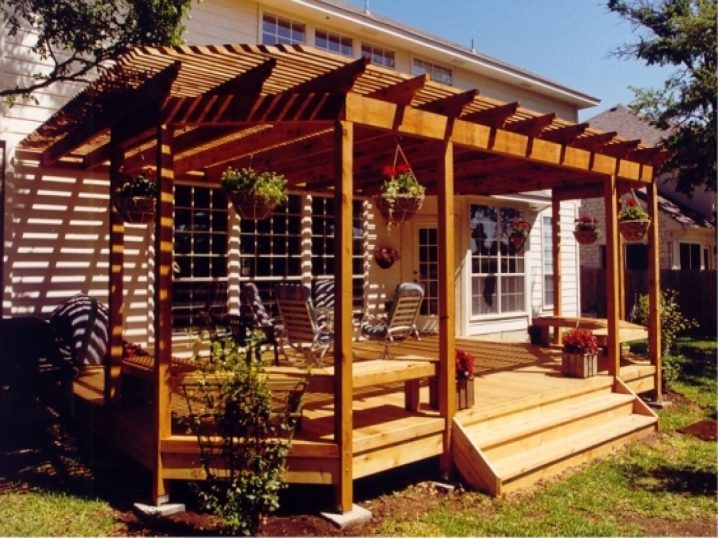
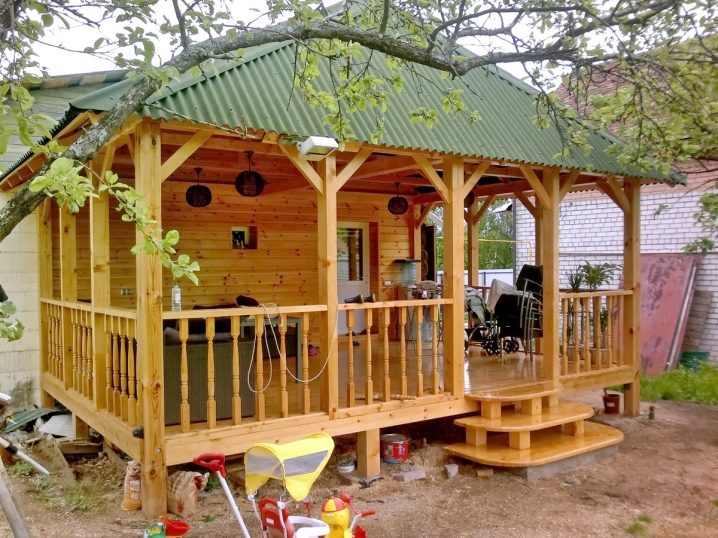
- An example of an open wooden gazebo with a flat roof: a spacious terrace on which it is so nice to sunbathe during the day and relax from the dacha troubles after dark. This is a great option for a summer holiday.
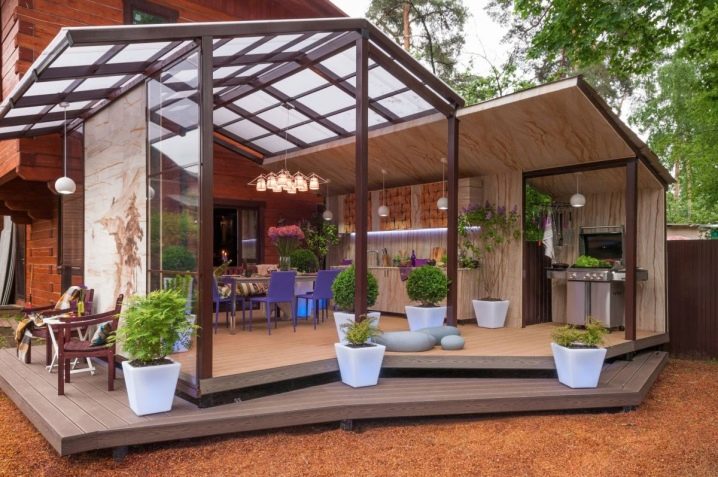
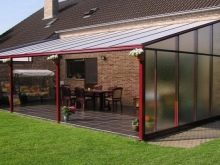
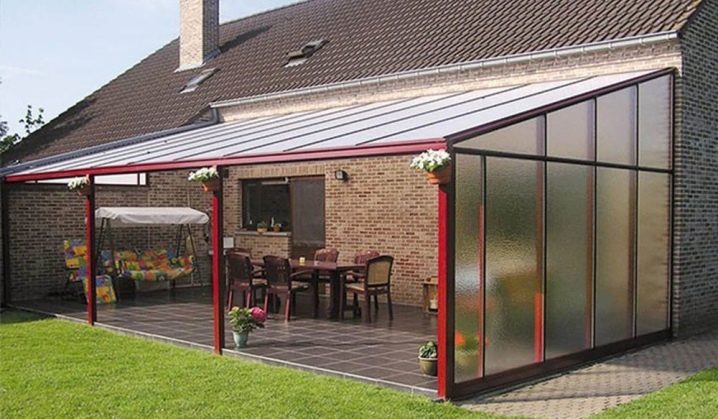
- Pavilion with a lean-to roofmade of modern materials. Corrugated matte walls hide the situation from prying eyes, and the whole family can gather at the table of a spacious extension.
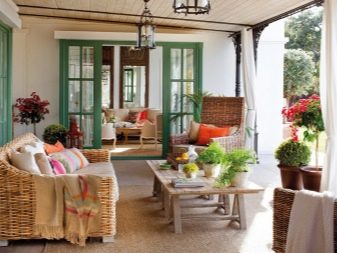
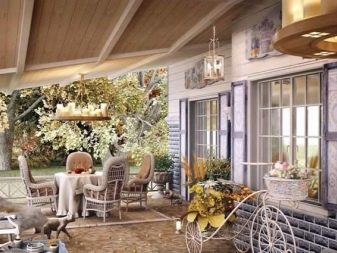
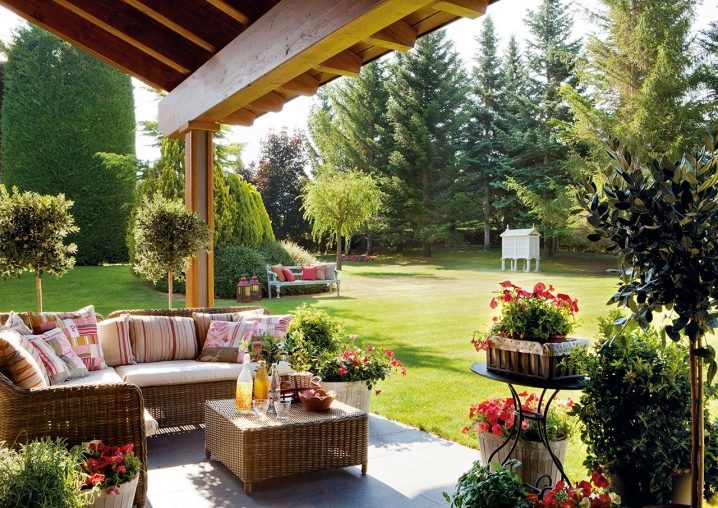
- Nice cozy sitting corner. Wicker furniture, white bedspreads, bright pillows, arranged soft drinks. And this is all surrounded by fresh flowers, arranged on shelves and in flowerpots. Great idea for a summer party.
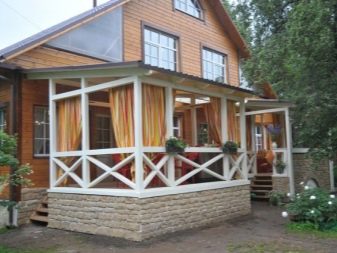
- Roman curtains protect from the wind and from the scorching sun, making your stay in the gazebo comfortable, and rest - quality. This is the best option for lovers of simple and concise design.
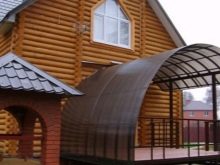
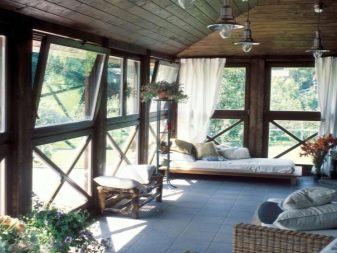
- Option of the arbor closed by transparent polycarbonate. Stylish, cozy, wicker furniture corresponds to a rustic setting, and through the window it is so nice to admire the lovely rural landscape. A great place to chat with family and friendly gatherings.
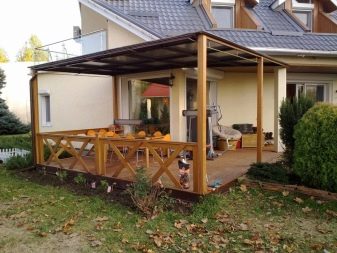
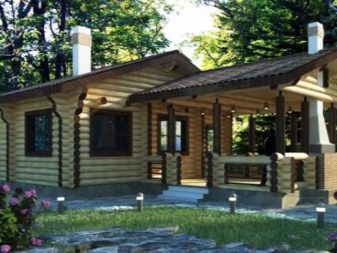
- Small wooden arbor - ideal for a small area.Everything needed was placed: chairs, a table and a couple of chairs. And for a pram there is a place. A practical option for families with young children and elderly couples.
On the construction of a porch, gazebos and terraces to the house from A to Z, see the following video.
