Homemade for the garage: ideas for making their own hands
The garage takes up a lot of space in the life of a strong half of humanity, even if there is no car in the family. In addition to being used as a storage and maintenance room for a car, the garage has a wide range of functions, despite its rather limited area.
How can I equip the garage?
To begin with, we will consider several options for ergonomic use and design of the interior of the garage:
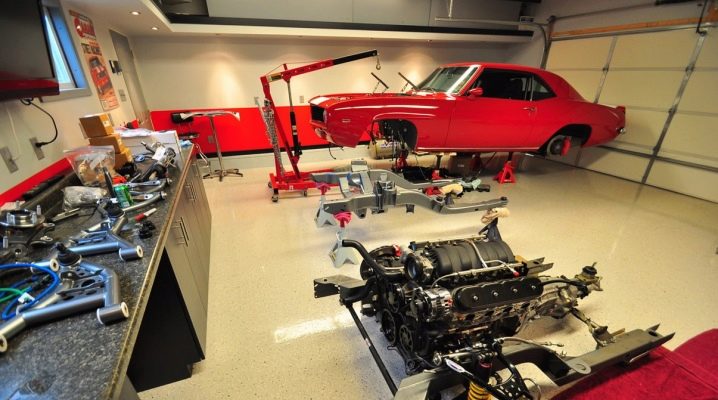
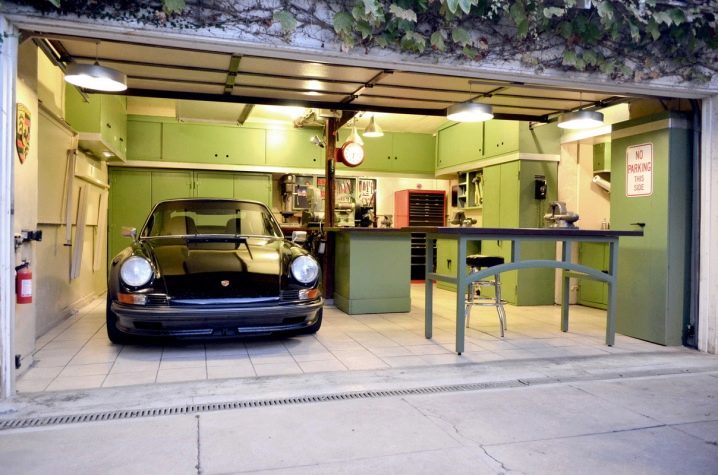
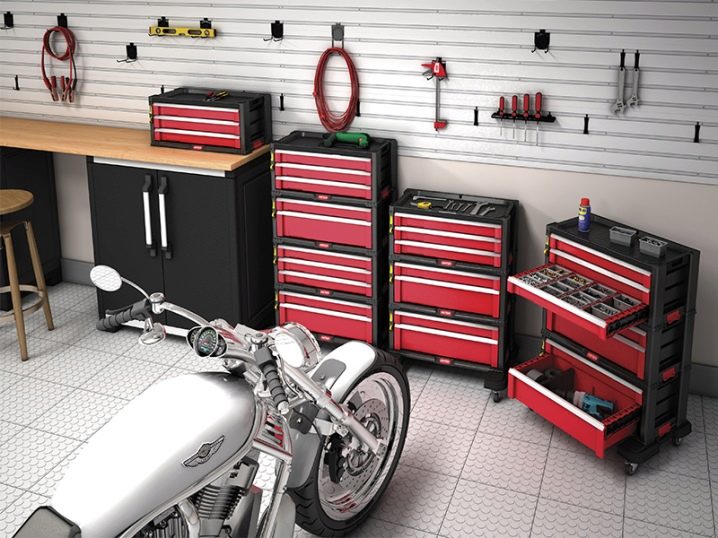
- The garage box in its internal configuration in 99% of cases has a rectangular shape. Accordingly, the distance from the car to the side walls is not very large and is not comfortable for carrying out any work. The most common arrangement is the removal of the working area (workbench, racks or cabinets with tools and spare parts) in the back of the garage, to the wall opposite the gate.In this area, there may be enough space even to install any necessary equipment, in addition to the workbench.
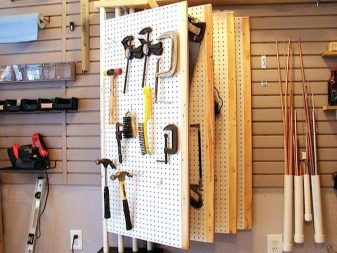
- If there is an additional room in the large-sized garage (utility room, electric switchboard), then on the surface of its door you can organize the storage of tools with the help of a hinged cloth or stuff holders in the form of different-size loops of plastic and ordinary ropes on it.
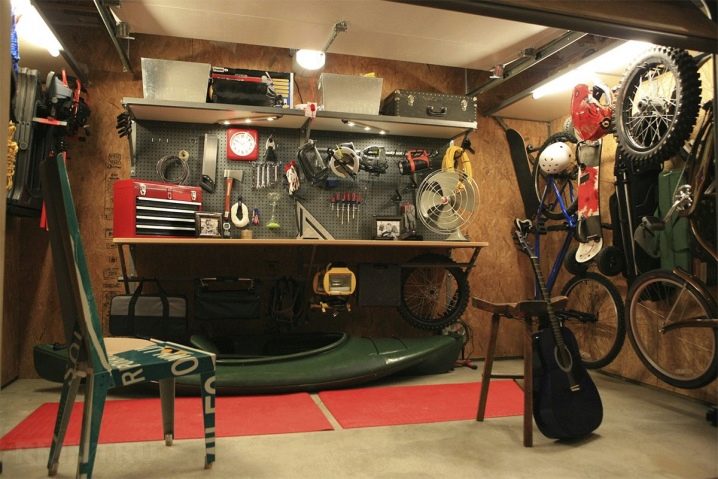
- The simplest option is that if a rack cannot be installed in the garage, a metal grid can be placed at some distance from the wall. On it you can hang almost any items, clothing and things like that. Even the shelves do not have to mount.
- Another way out is to attach the hooks to any surface. They are few in the garage just does not happen. You can make them yourself, or you can buy them in a supermarket. Significant savings in free space guaranteed.
Tips for the garage
So, the garage is purchased. At the initial stage of the arrangement we will discuss the purchase of furniture, most likely. Finding what suits the owner and at the same time occupies a minimum of space is not so easy.The way out of this situation is to make the necessary pieces of furniture with your own hands.
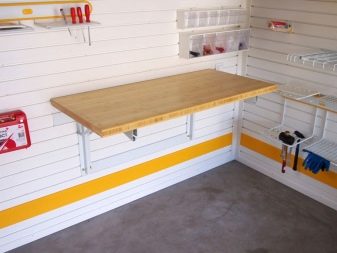
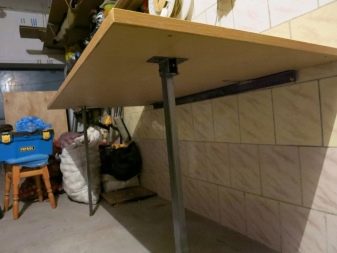
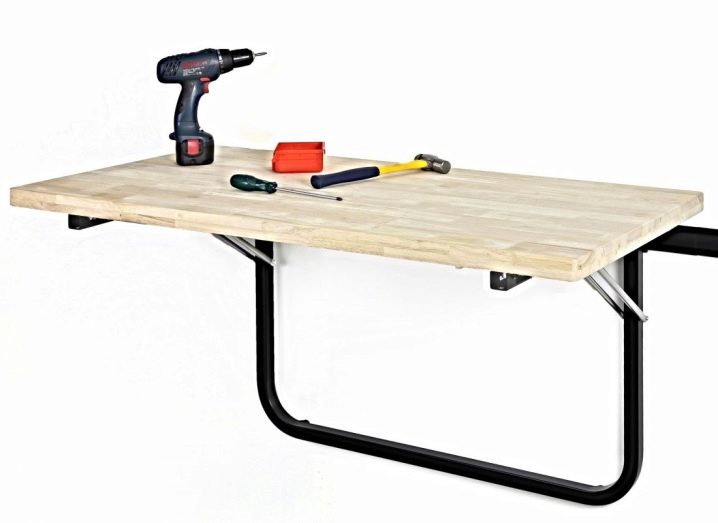
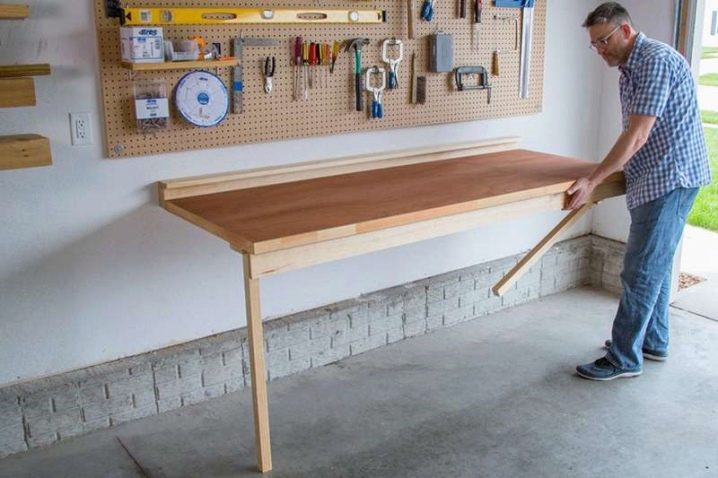
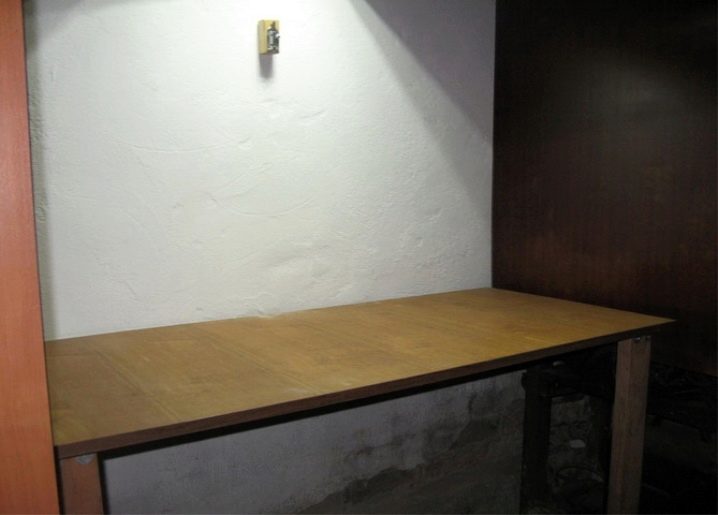
Table with folding hinged table top - ideal for a small garage. This stand does not take up much space, but can be a table of a very decent living space. In its manufacture often use the materials from which the old cabinet was made.
Materials:
- DSP;
- furniture hinges;
- fasteners for wood;
- accessories;
- wooden bars;
- anchor
First, markup is made at which a building or household level is applied.
The following steps:
- the bar is drilled through and fastened to the wall with anchors;
- holes are marked and drilled in the future plane of the table and the area of attachment of the corners;
- the bar and tabletop are connected by loops;
- the table in the folded position is held by a standard bolt, lock or hook, which is strengthened on the wall;
- the table supports at the same time simply lean against the wall next to the table.
How to make a drill stand?
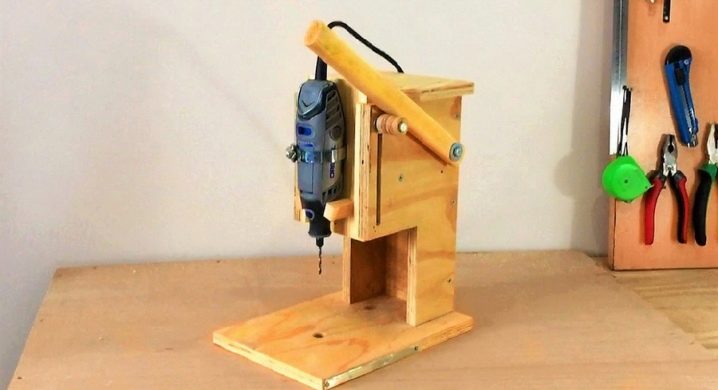
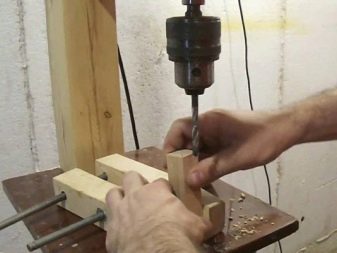
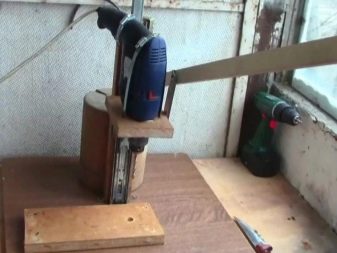
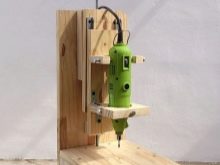
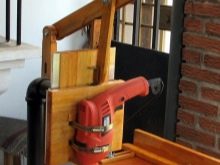
Making a mini-drilling machine with their own hands does not require high qualifications, but it greatly expands the scope of application of an ordinary electric drill.In addition, the machine will turn out much cheaper than the purchased one, and components can be borrowed from previously used devices.
Making a wooden stand will take quite a bit of time and will not require any special materials and tools:
- wooden blocks or boards not thinner than 20 mm;
- furniture guides;
- threaded metal bar for caliper;
- fasteners for wooden parts (screws, glue);
- emery.
Instruments:
- hacksaw;
- vice;
- set of screwdrivers;
- electric drill.
Dimensions of the mini-machine is chosen in accordance with the size of the working space in the garage.
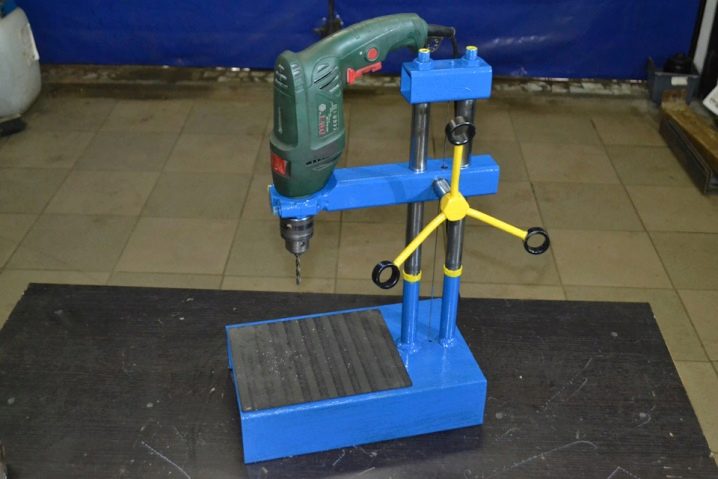
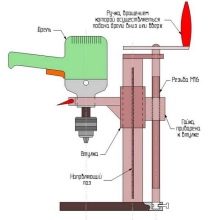
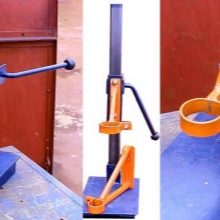
Making a rack out of metal takes a little more time and material, so it is necessary to highlight it in a bit more detail.
The proposed rack made of metal is more versatile than that made of wood, and includes:
- carrier bed;
- guides of the drill stand, to which it is fastened and moved vertically;
- handle vertical feed tool;
- additional nodes for ease of use.
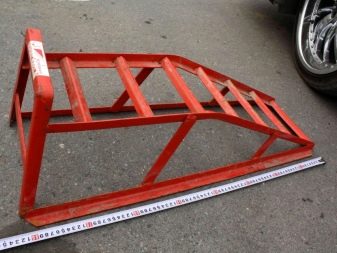
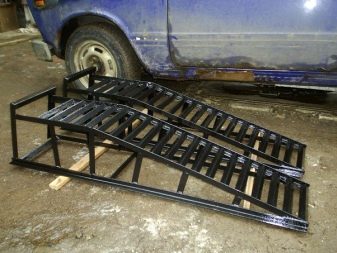
How to make an overpass for auto repair?
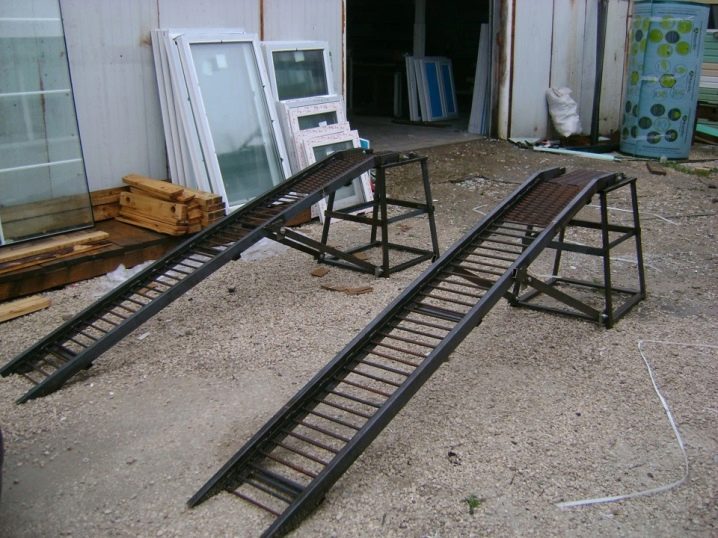
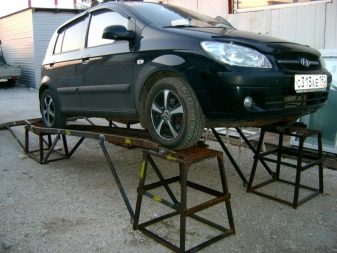
It is no secret that the car needs regular maintenance and minor repairs, like any technically complex mechanism.For the convenience of access to components and assemblies located on the bottom of the car, they often use a light-made overhead do-it-yourself platform, which will significantly save money spent on workshop technicians.
Trestles are full and small. Strictly speaking, overpasses function in the same way as inspection pits.
The need to build such a useful invention most often dictates the high boundary of the aquifer in the place where the garage is built, which makes the arrangement of the inspection pit impossible.
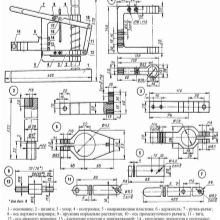
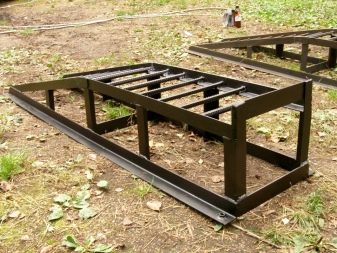
The overpass is quite possible to mount their own hands. This business requires drawings, a plan of action and an account of the dimensions of the car:
- the total length of the overpass is usually taken at the rate of - the length of the car + 1 m;
- ladder width - more than 40 cm;
- height of the supports - 70-80 cm.
The ladders are made of a corner, the cabinets are welded from a corner with a shelf width of 50 mm. The surface of the ladder is made of corrugated steel with a cross section of more than 14 mm.
How to build a compressor for the garage?
When servicing the car, and for other work in the household and garage facilities, there is often a need for an air compressor. It will help in painting, and when inflating tires, when blowing off dust, and in many other cases.
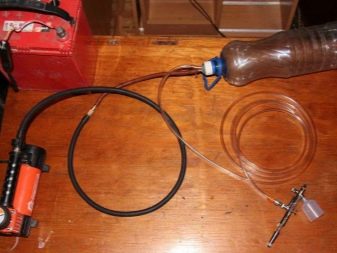
The simplest compressor for painting a car can be assembled from the old car chamber itself.
Here is a description of the necessary materials and tools for the implementation of this idea:
- the receiver will serve directly the camera itself;
- supercharger - pump, it is desirable that he had a pressure gauge;
- tire repair kit;
- awl.
Procedure:
- check the camera for damages with a pump and repair them if they are found;
- in the receiver to make a hole for the release of a jet of compressed air;
- glue the additional fitting and connect it with the spray gun;
- unscrew the nipple in it to give air free passage;
- leave the “native” nipple of the chamber - it will be used as a valve, keeping the overpressure;
- by sampling to determine the required air pressure of the receiver, spraying the paint and ensuring that it lays down evenly;
- the main rule is that there should be nothing foreign in the chamber: moisture, particles of dirt and dust.
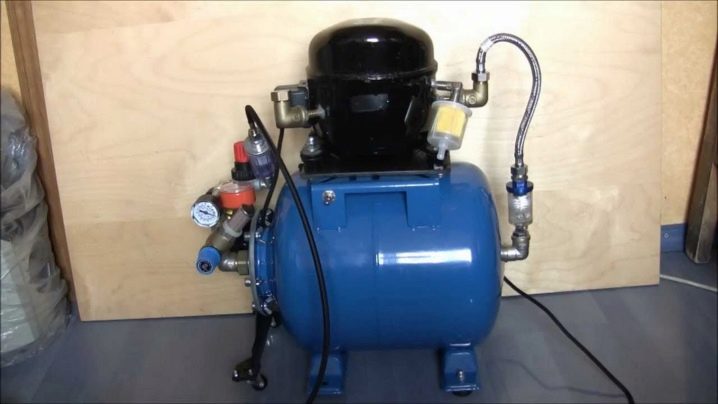
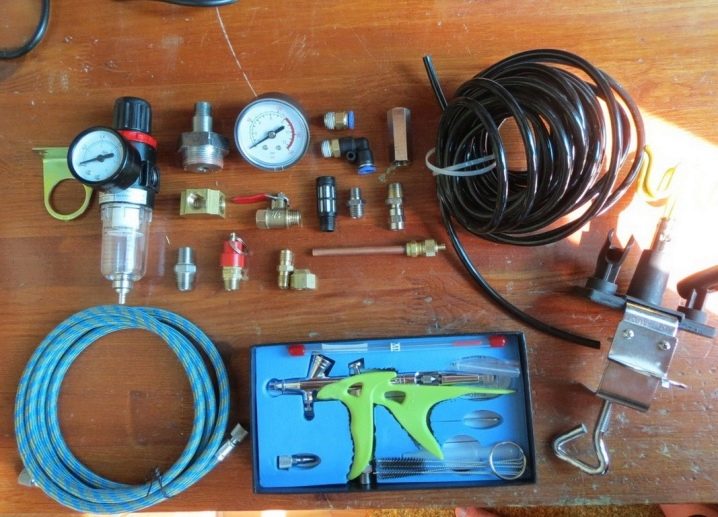
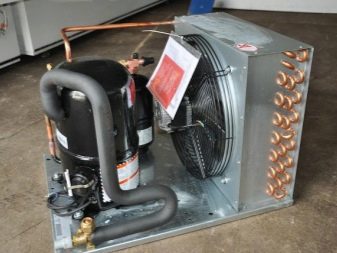
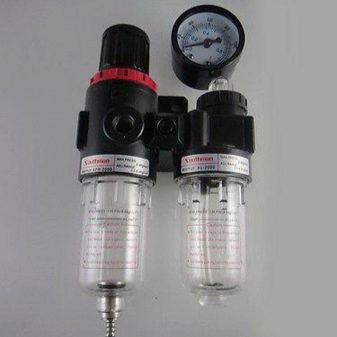
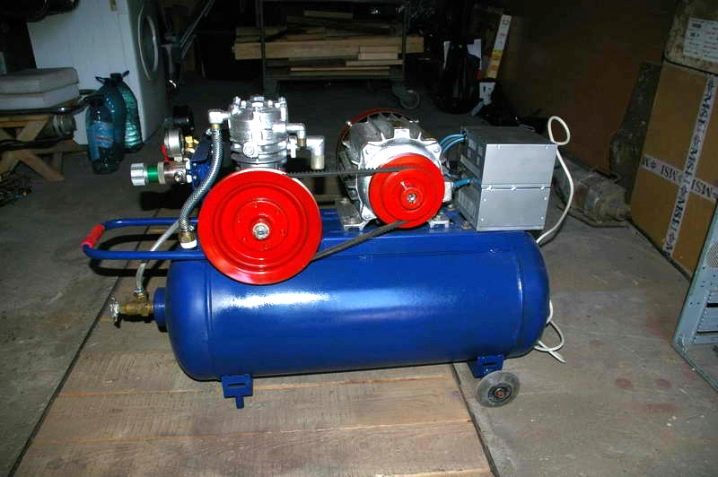
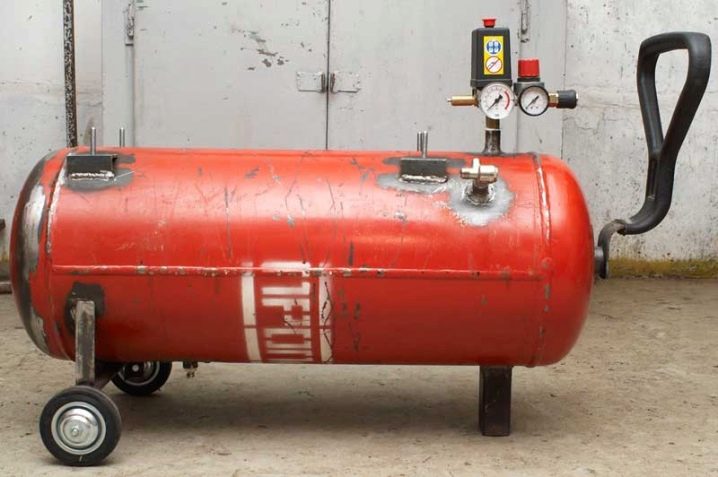
If you have a minimum number of skills for assembling more complex structures, you can suggest trying to assemble a compressor of a greater degree of complexity and versatility,which can be used to measure the amount of atmospheres in car tires, paint, blow off and blow off dust.
The method is inexpensive, even if the garage does not find a large number of scrap materials.
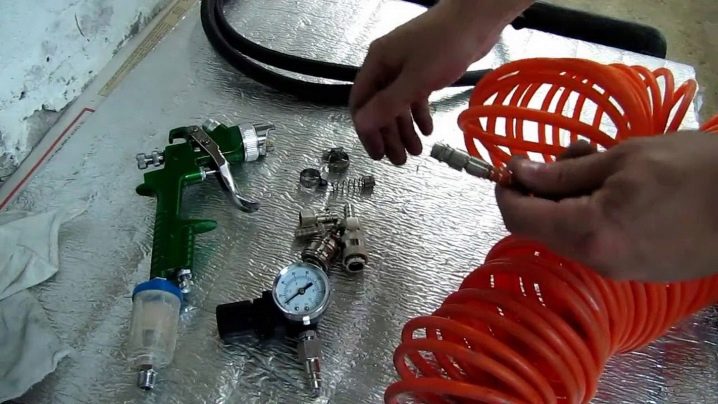
Installation is carried out from:
- old refrigeration unit;
- air receiver up to 10 liters;
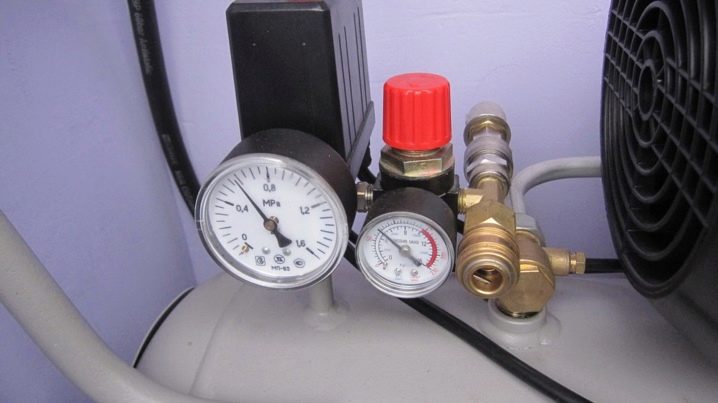
- manometer for air receiver;
- air pressure regulator;
- high pressure hose (20 bar);
- the most inexpensive filter regulator;
- several clamps;
- adapters.
The compressor does not take up much space, so it is quite possible to install it in a niche on the wall or on a wall shelf made by yourself, where the need dictates.
The receiver of this type of compressor has three outputs:
- the upper one supplies compressed air;
- the medium is used by the pressure gauge in the receiver;
- through the bottom drain condensate and oil.
Principle of operation: the compressor draws air through the lower part, where the filter regulator and the on / off switch are installed. Regulator pressure limits are from two atmospheres to eight.
To insure against trouble, for safety, you can install a relief valve.
How to make a crane-lift?
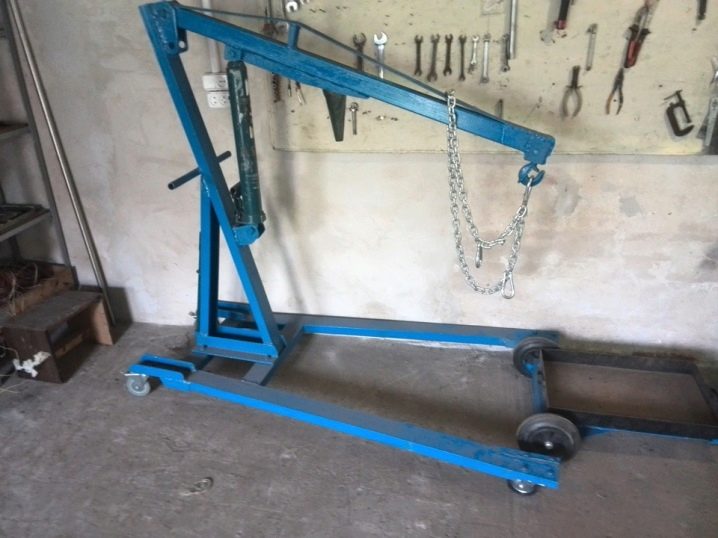
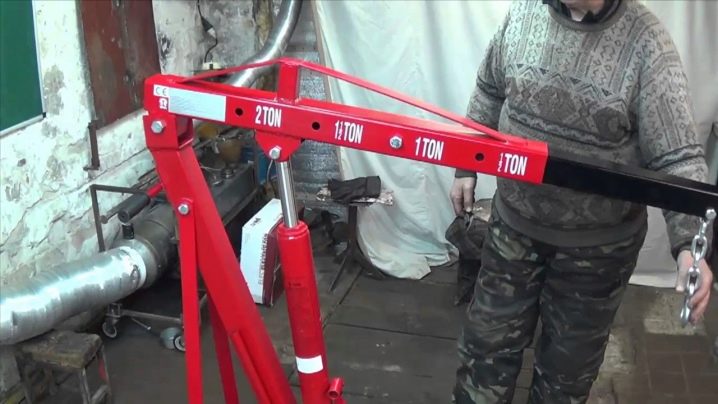
No one will deny that periodically any car must be serviced, and from time to time and repaired. Serious repairs are not cheap, so many car owners take it off in the garage or in the country with their own hands. For example, when repairing an engine, considerable physical effort will be required when it is removed and installed after repair in place.
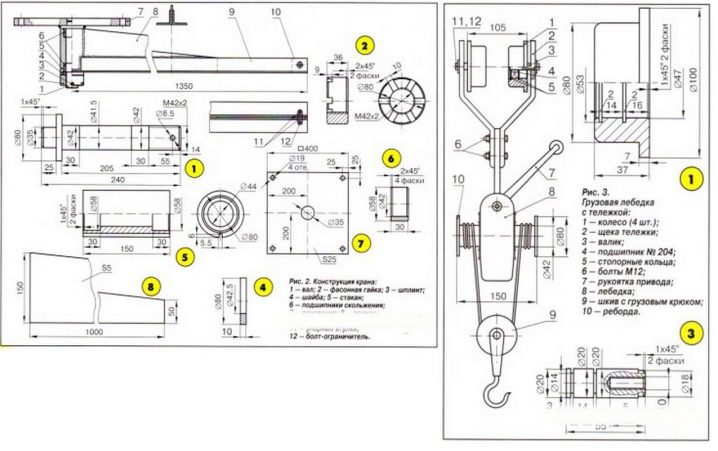
Great help with such operations can provide a crane with a winch. It can be equipped in the garage either by purchasing in a supermarket, or with your own hands, according to a simple scheme.
The most practical way to place such a crane is over the front of a car that is delivered to the garage. If the extension of the boom is 1 meter, then the working area will be around 5 m².
The base in this version will serve sheet steel 400x400x25 mm. A 80 mm diameter rod welded to it is attached to the ceiling with M16 bolts.
It is necessary to monitor the observance of levels horizontally., as often the floor or ceiling of the garage may have a slope in one direction or another.
The boom is made of a meter strut, corners 50x50 and a glass with two pressed-in bronze bearing bushings. The whole construction is fixed with M42x2 pinned nut.
Pit and cellar
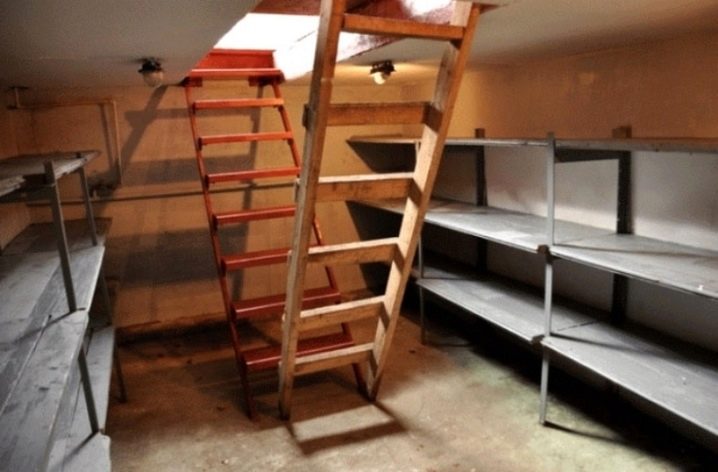
The useful space is not limited to the garage box itself: you rarely find a garage without a cellar, where both pickles and marinade racks and departments for fruits and vegetables collected in native six hundred squares are excellently placed.
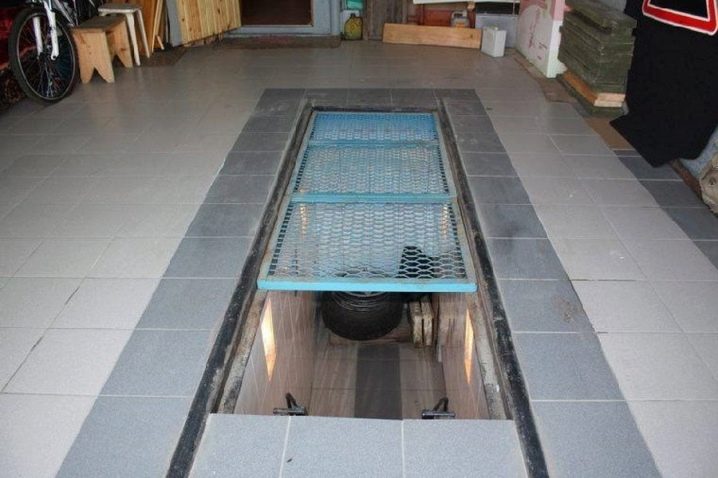
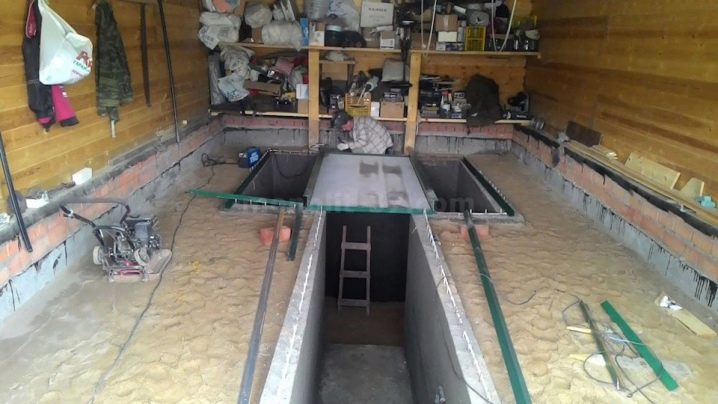
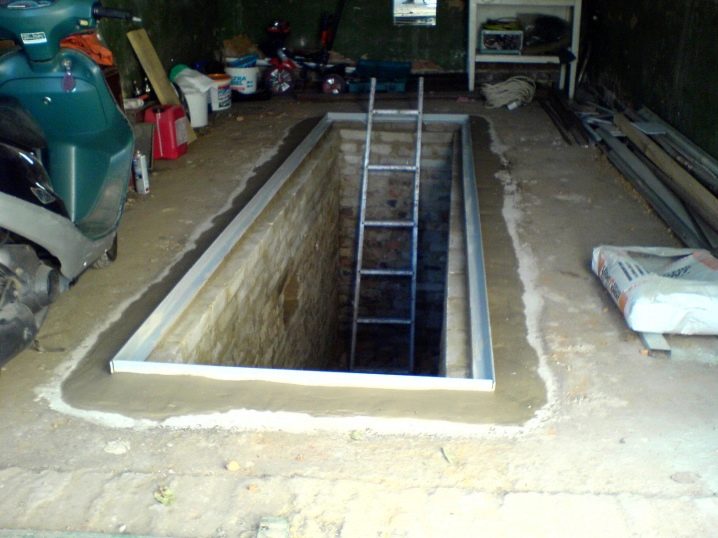
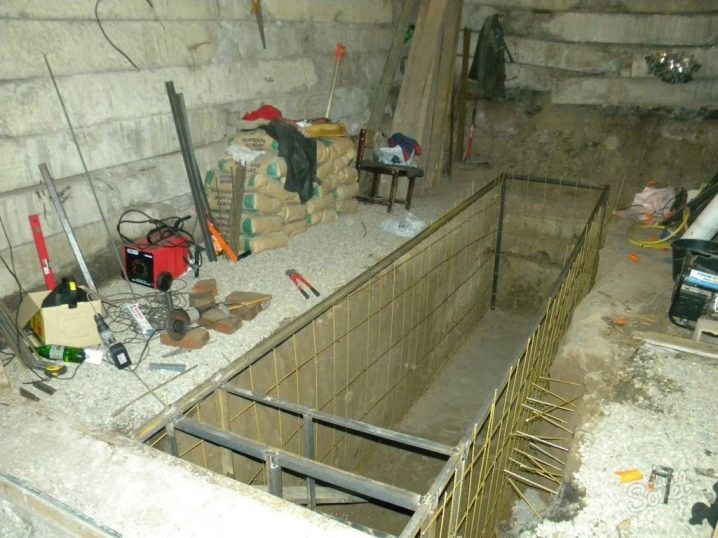
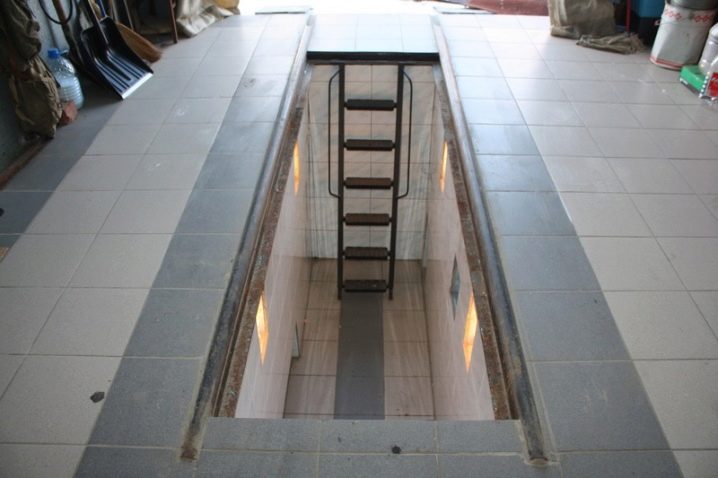
The situation is as follows: the garage is built / bought / rented, the car needs repair or just maintenance, and there is no inspection pit in the garage. There is a way - to build it yourself.
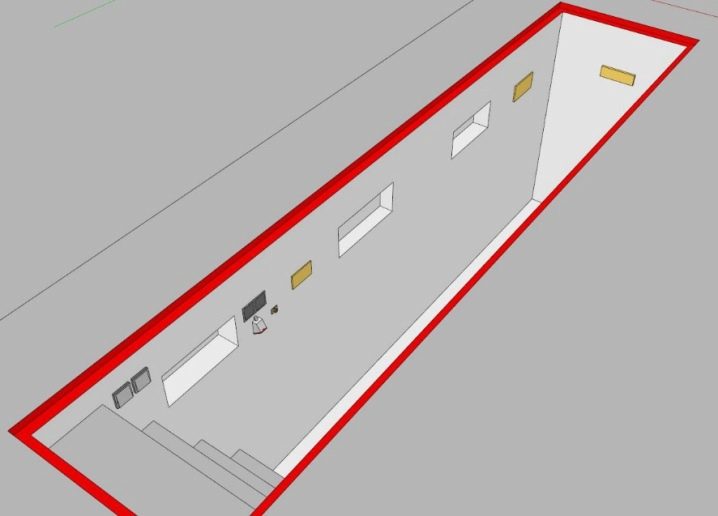
In general, the inspection pit should be of such size that the owner can accommodate and work in it comfortably.
For this, the dimensions of the pit are measured:
- the length pits are chosen according to the length of the base of the car + 1 meter;
- width determined by measuring the distance between the front wheels minus 20 cm to ensure that the car does not fail at the entrance;
- the depth choose in accordance with the growth of the car owner + 20 cm.
Layfkhak: it is necessary to add to all received sizes on 30 cm. It is done for prospective installation gidro-and thermal insulations.
Consider the construction process itself in stages:
- Marked dimensions pits.
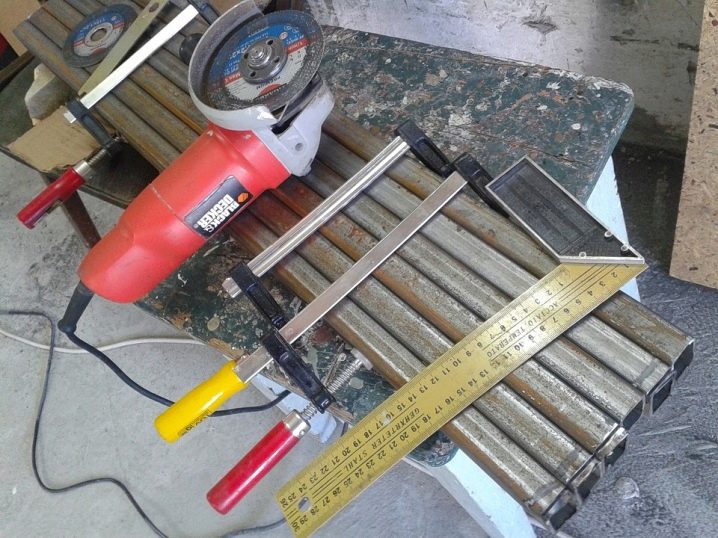
Life hacking. If the floor screed is already available, you will have to organize the order of work as follows: apply the markup and then cut it with a grinder or some other tool.
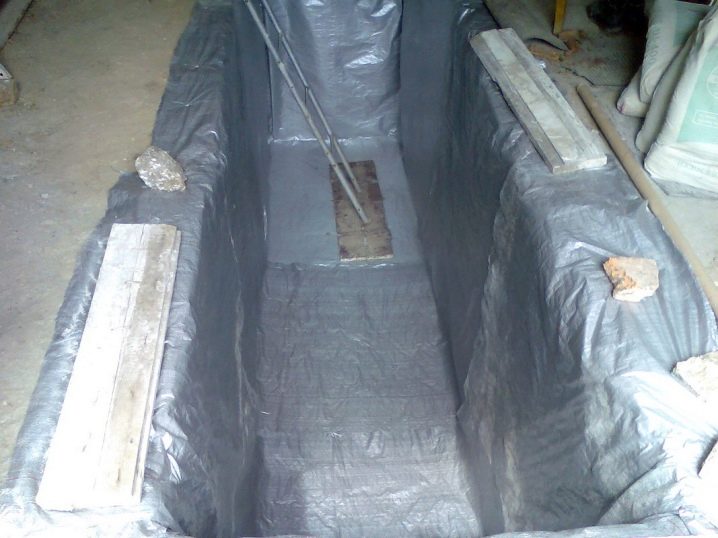
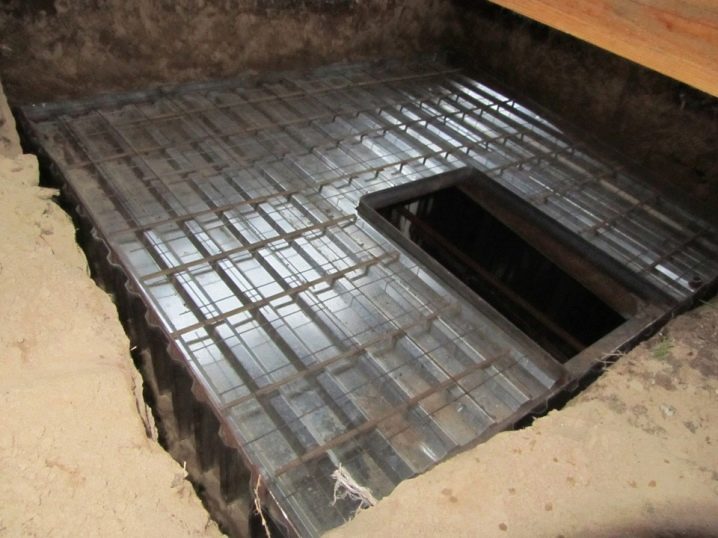
- Observe the parallelism of the floor with the help of the level, carefully tamping it down. Usually, a cushion of rubble is placed on the floor of the pit as the first layer, then in order: 5 cm of sand, 30 cm of clay, reinforced mesh, which is poured with 7 cm of concrete. Lay the foam layer and the next layer of concrete in 15 cm.
- The walls of the pit are coated with clay, polyethylene is laid, and roofing material is placed on it and all joints, like on the floor, are coated with mastic.
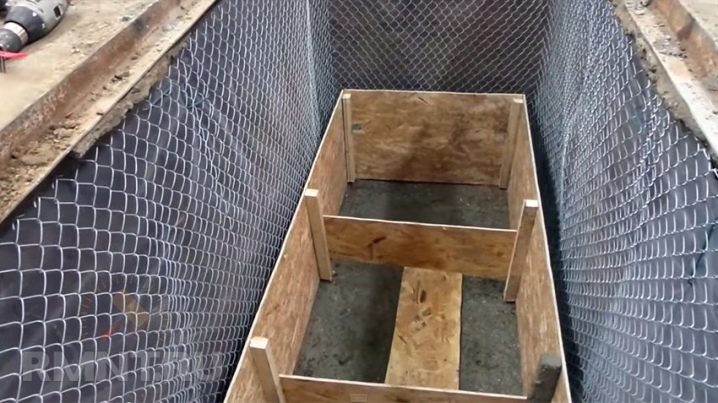
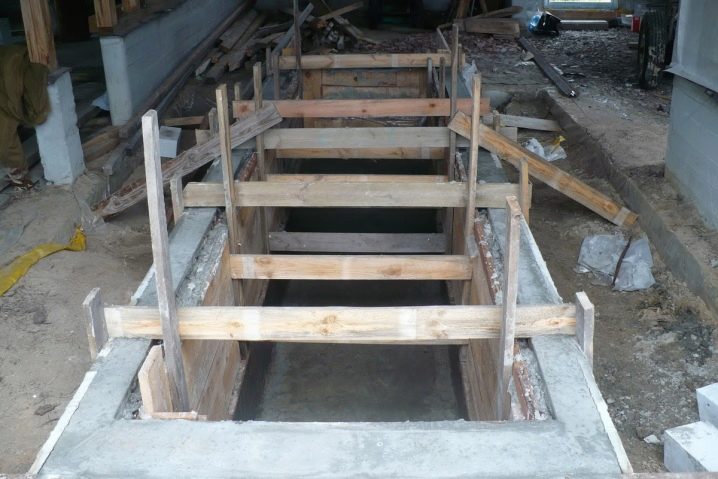
- Creating a formwork is the most time-consuming operation: it consists of plywood sheets or boards, leaving a gap of 7 cm from the wall.
- The wall is reinforced and poured concrete.
Layfkhak: on height filling is made with a speed of 20 cm a day, not faster.
- Niches can be made in the walls; ceramic tiles are used as a lining.
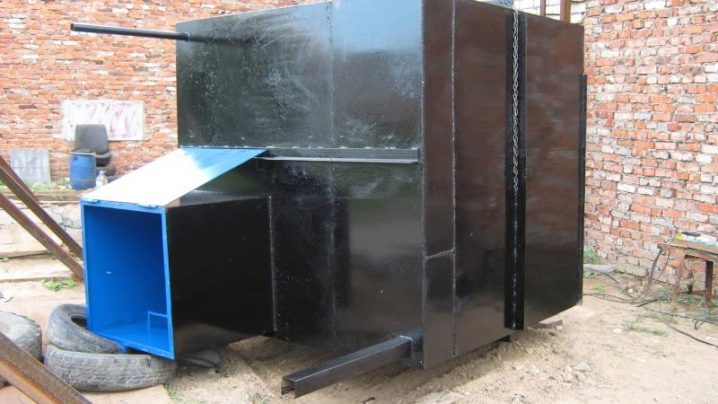
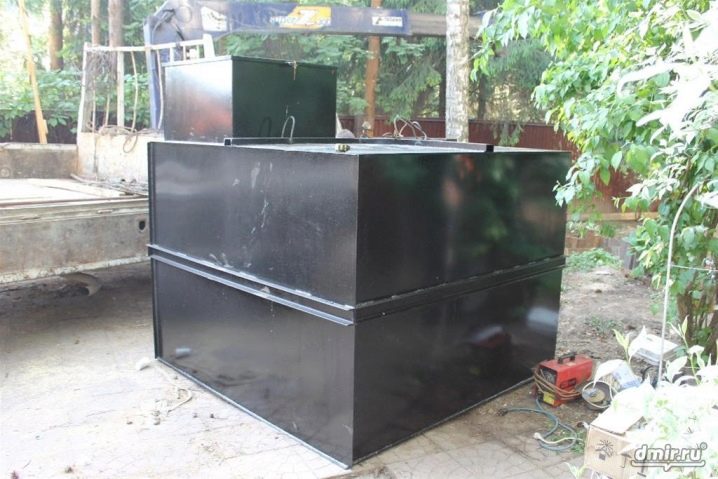
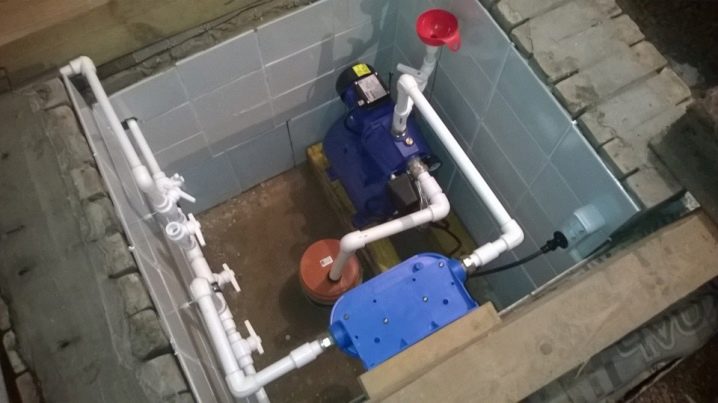
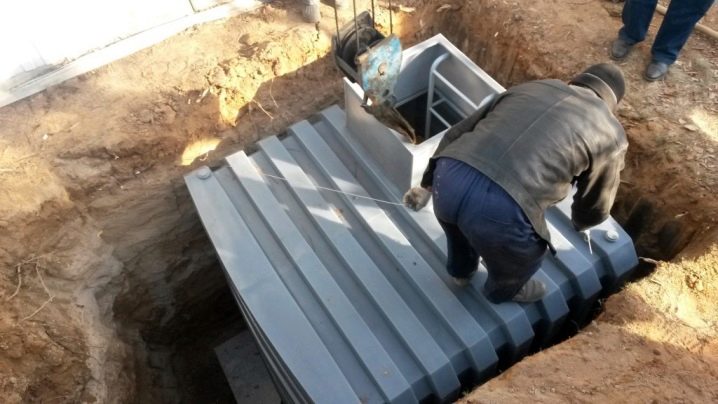
When arranging the cellar in the garage, the most reliable solution is to use a caisson. If you ask yourself what a caisson is, it’s best to turn to a few life hacks that explain its purpose.
Simply put, a caisson is a can.An ordinary large waterproof canister, tank, or whatever it is. It is used as an impermeable basement soil moisture.
It consists of:
- superstructure
- a cylindrical chamber with dimensions of 2 m in height and a diameter of 1 m, this is the best option in terms of the proportion "volume / consumed materials";
- The caisson is additionally waterproofed from moisture with various bitumen mastics, asphalt layer or various solutions, again based on bitumen.
Consider some useful tips and advice on this subject:
- The walls of the caisson must withstand considerable external pressure; they should not be saved on their thickness.
- Weld seams should be welded twice, it is also highly recommended to use anti-corrosion agents.
- When using a caisson, it is imperative to equip a reliable ventilation system.
- The list of basic storage units is almost the same: canned food and pickles, other homemade stocks rolled up in cans and other containers, unprocessed vegetables and fruits. Consequently, their storage conditions must be considered.
- Ventilation requires special attention: the option of ventilation of a natural type is not always suitable due to the lack of possibility of its artificial regulation. Forced ventilation is better.
- If the caisson is missing, a so-called sandbag of 25-30 cm thick is laid on the floor for waterproofing, the roofing sheet is covered with roofing material or other material, the seams are glued with bitumen or mastic.
- Raw vegetables are stored on the floor in boxes. Carrots and beets are additionally sprinkled with sand.
- Wood racks over time tend to become covered with fungus. To avoid this, they are covered with protective mixtures.
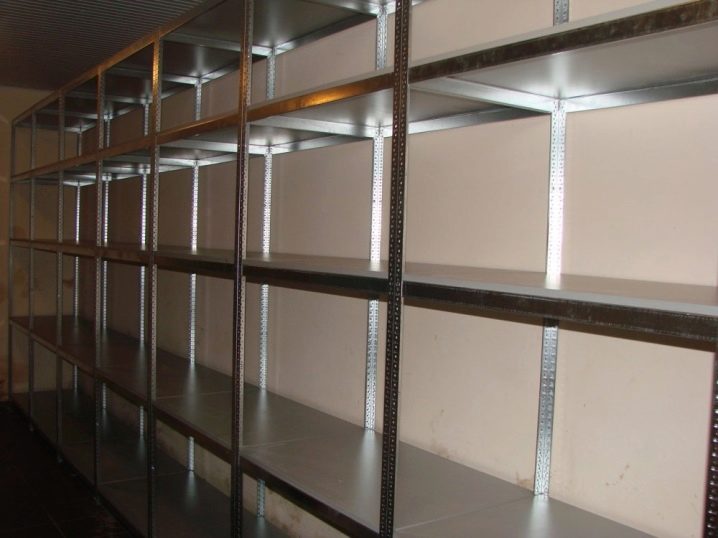
- Steel racks are deprived of this disadvantage, but they tend to corrode, so they are treated with water-repellent materials.
- Plastic shelves are resistant to moisture and corrosion, but quite fragile and can not bear a large weight load.
- The depth of the cellar is directly proportional to the depth of the aquifer in this particular area if the caisson is not used.
- When using a caisson, it is necessary to take measures to prevent its extrusion by groundwater to the surface.
- The cellar floor should be located not less than 1 meter away from the upper boundary of the aquifer.
How to make a workbench?
Who saw the garage, in which there is no workbench with vise mounted on it? Or a garage without shelves, mezzanines, wall cabinets? Without a test bench for car maintenance or maintenance?
By the type of the interior of the garage, you can immediately tell who its owner is and how functional this or that option of using the internal space is, how much it optimizes it for operation.
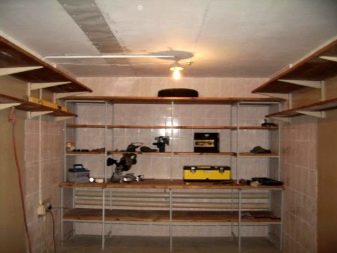
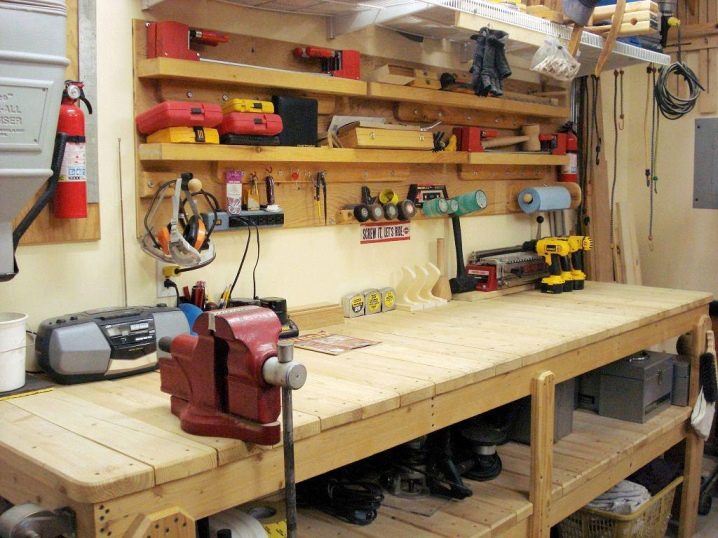
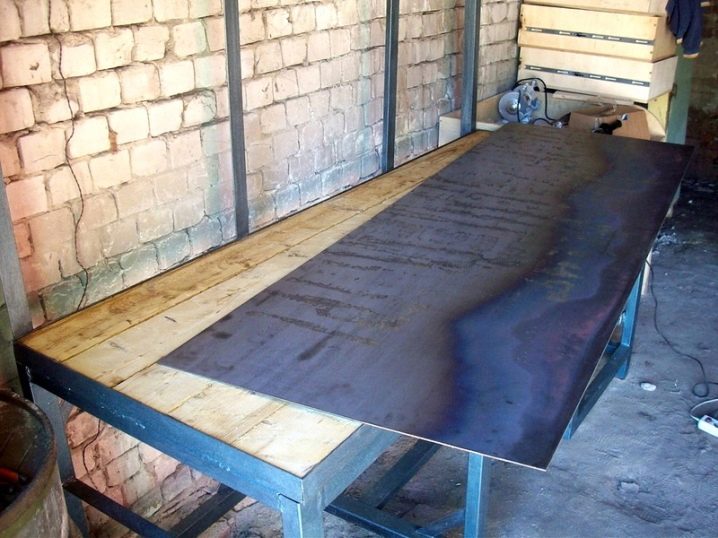
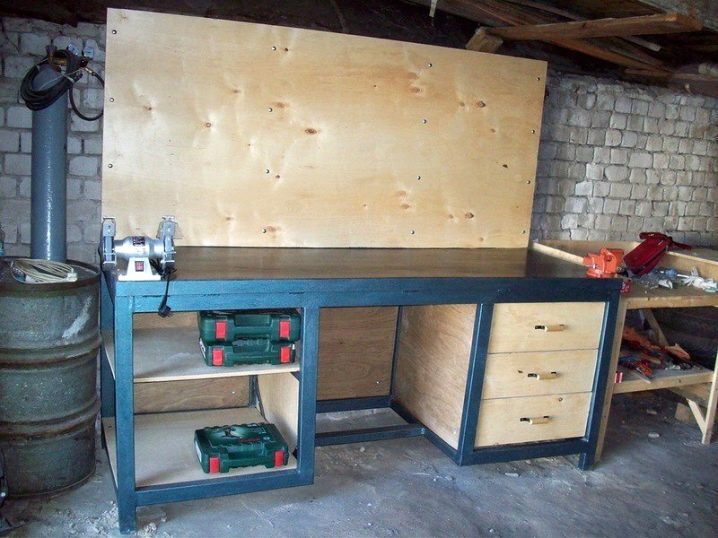
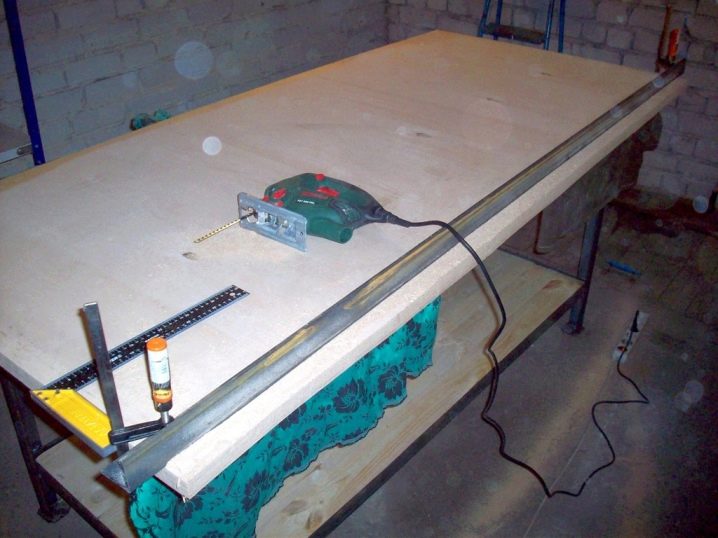
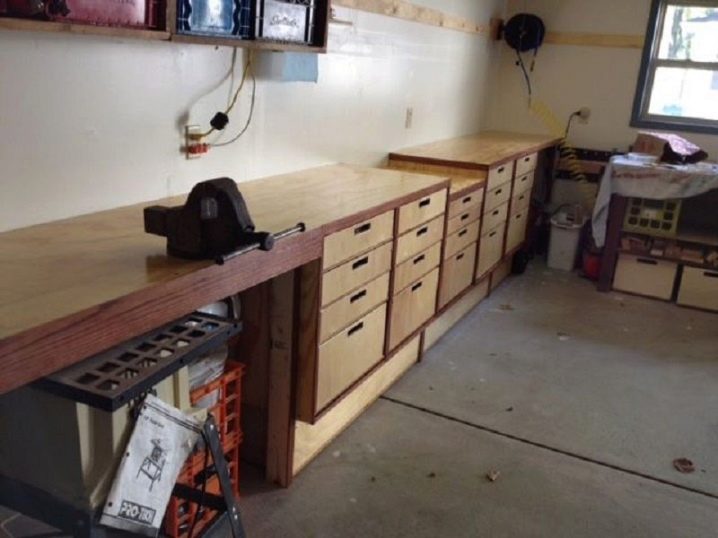
A large and comfortable workbench in the garage is its undeniable advantage. If in it to organize boxes for tools and parts, then it will turn into a universal place of work. Usually such a workbench is made to the entire width of the garage with boxes of various sizes.
For its installation with dimensions of 660x100x60 cm are needed:
- saw;
- plywood of various thickness;
- polyurethane;
- paints;
- grinding machine;
- fasteners.
Operating procedure:
- for the workbench size 660x100x60 cm you will need to cut 4 sheets with a thickness of 20 mm;
- for the working surface it is better to use polished plywood;
- the boxes are made of strips 0.6x4.8 m, 13 mm thick;
- Rack sections are mounted from 20 fragments of size 61x61 cm;
- each vertical row of boxes is calculated as follows: 3 small and 1 deep;
- the depth of the grooves of the guides is 1.27 cm;
- additionally cut a groove of 254 mm at the bottom of the cabinet and three grooves 127 mm apart and 146 mm from the top of the cabinet;
- the desired structural rigidity is created by reinforcing the back wall with plywood strips;
- we collect all the structures for the five boxes and fasten them together, then fix them with fixing screws to the wall so that under them there is free space for oversized objects;
- collect boxes of plywood 13 mm thick;
- the handles are cut out in the front wall of the box, or they are ready-made and fixed with screws;
- the dimensions of the lower boxes are 120x25x5 cm and 60x25x5 cm;
- a frame of 60x120 cm is attached to the working surface of the workbench;
- Workbench finishing is sanding and painting in several layers.
- the varnish is allowed to finish.
How to make racks?
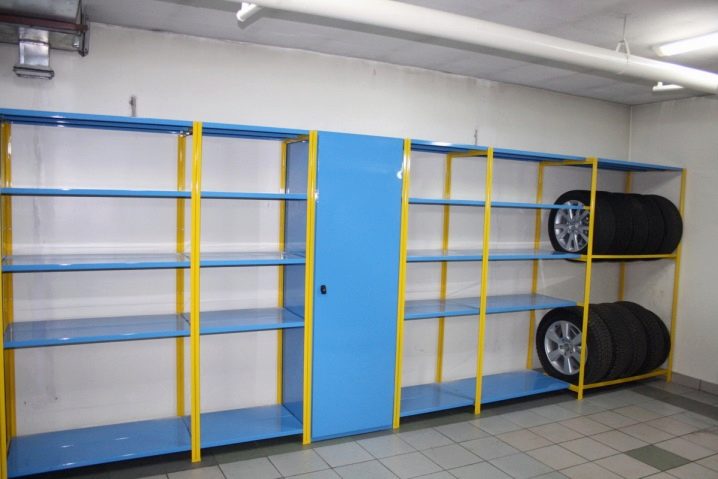
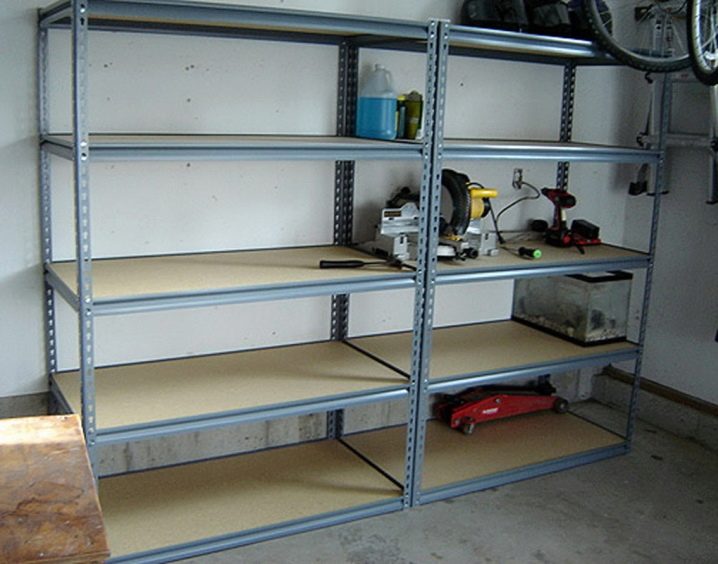
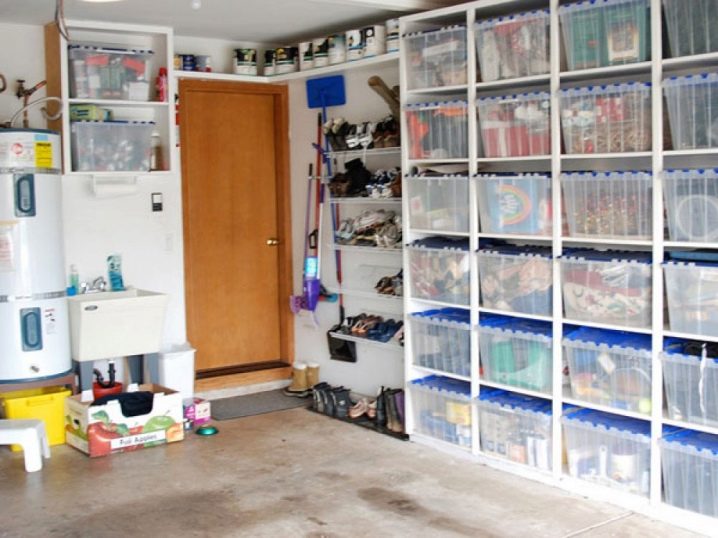
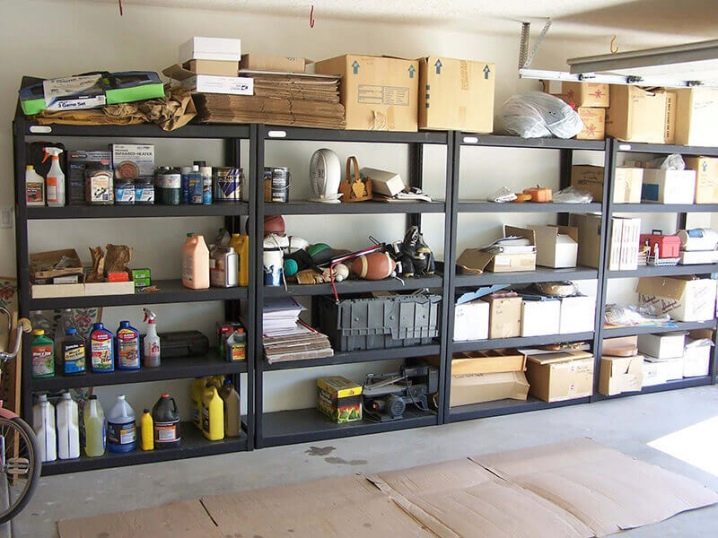
Racking - one of the most common rational decisions of the organization of free space when placing things in a limited volume of the house or garage box. The surface of the walls of boxing and calllean against a rack or strengthen a dozen or two shelves and put on them a variety of items: from fishing supplies and clothing to the outboard motor and a spare engine block.
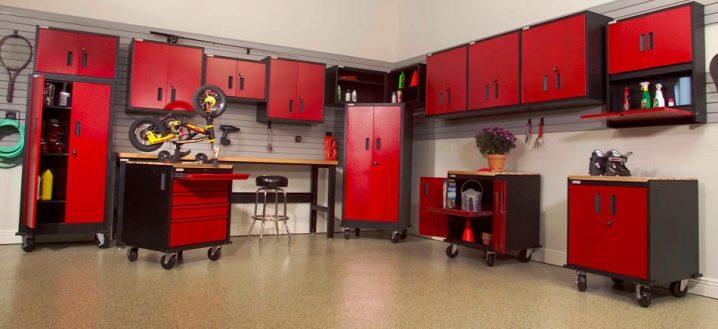
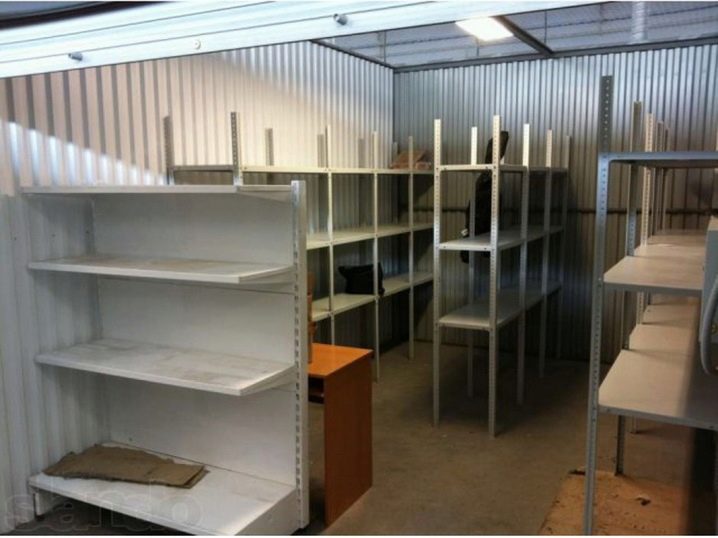
Rack for the garage can be purchased in retail chains - this is an option that almost does not require energy costs. Installation / disassembly of such structures is elementary and does not require highly skilled fitter.
Perfect for all categories of garage owners, but quite expensive and will require a certain amount of investment.
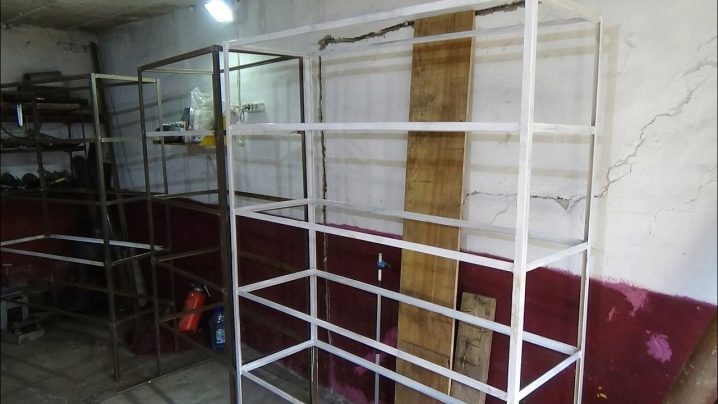
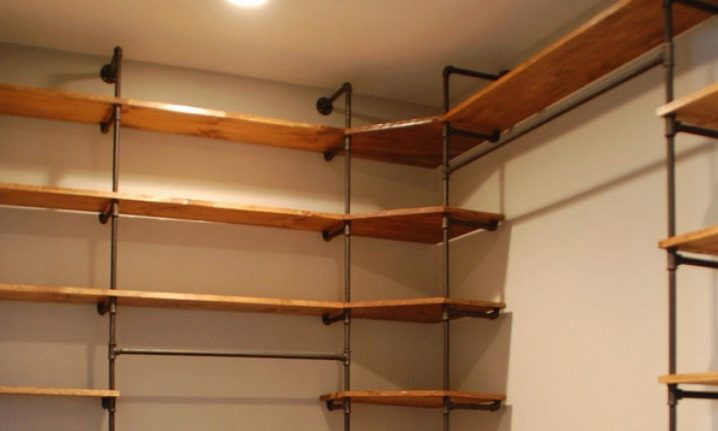
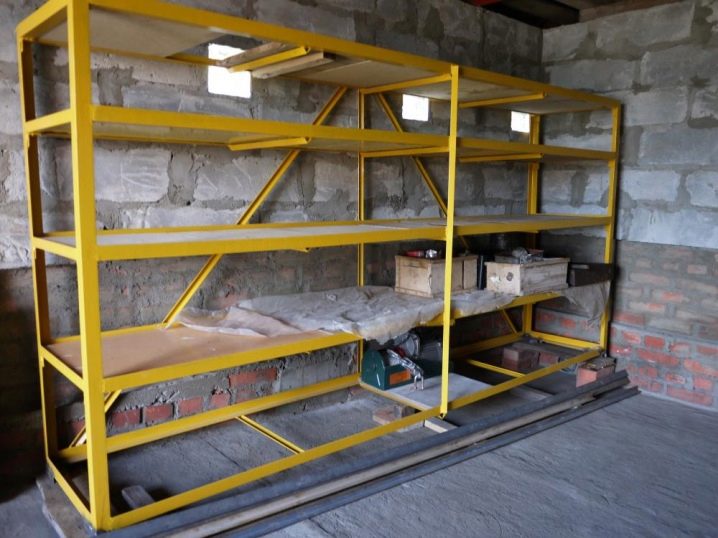
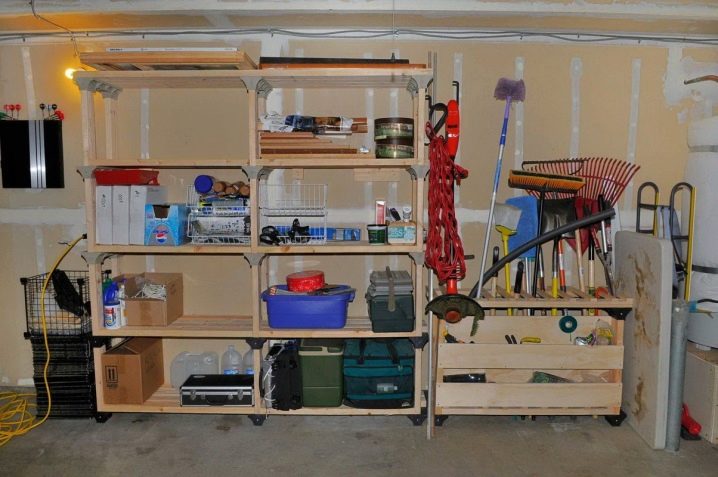
You can try to make the rack yourself from improvised or purchased materials: from scraps of pipes, profiles or corners, from pieces of plywood, chipboard, plastic.
Instead of drawers, it is possible to use ordinary plastic cans. The canister is located horizontally, and by the handle, which was in front, it is pulled out and returned into place.
The only thing you should not forget - It is prohibited to use jerry cans and other containers from under chemically aggressive, radioactive or combustible substances.that may be harmful to health. The best option - drinking water canister.
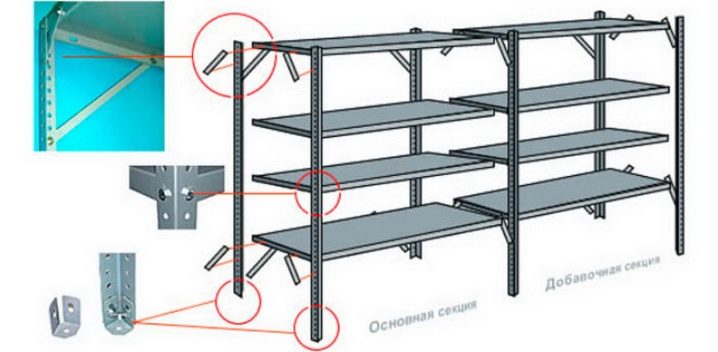
To make a rack of aluminum or another metal yourself, it is necessary to prepare, measure, calculate the load and choose the material for the product. You should also take into account what communications are in the place where it is planned to mount the rack.
- First, determine the external dimensions of the product.
- Then count the number of shelves, their height. It makes sense to make them different heights, as the size of the storage items vary.
- It is irrational to make sections of too wide a width - the carrying capacity of the shelves will decrease dramatically, the possibility of collapse will increase.
- The drawing should begin with a sketch of the rack, its schematic image with preliminary dimensions, giving a general idea of what should be in the end.
- The next step will be cutting vertical parts.
- All parts are cut to one length from a solid profile or corner. It is not recommended to compose them from separate parts.
- Sometimes metal pipes or metal-plastic pipes are used as risers.
- Material for shelves is chosen based on its strength. For example, shelves made of particleboard and fiberboard will not sustain significant weight due to their relative fragility.
- Design shelves with a width of no more than 60 cm.
- The presence of a border (flange) on the shelf will serve in two directions at once - it will create an additional stiffener and prevent the fall of small parts.
- First install vertical racks. Mounting method (to the floor, ceiling, walls) should be considered at the stage of drawing up a drawing.
- When installing it is necessary to use the level in order to avoid distortions.
- The shelves are fixed with the help of corners.
Consider a few useful life hacking:
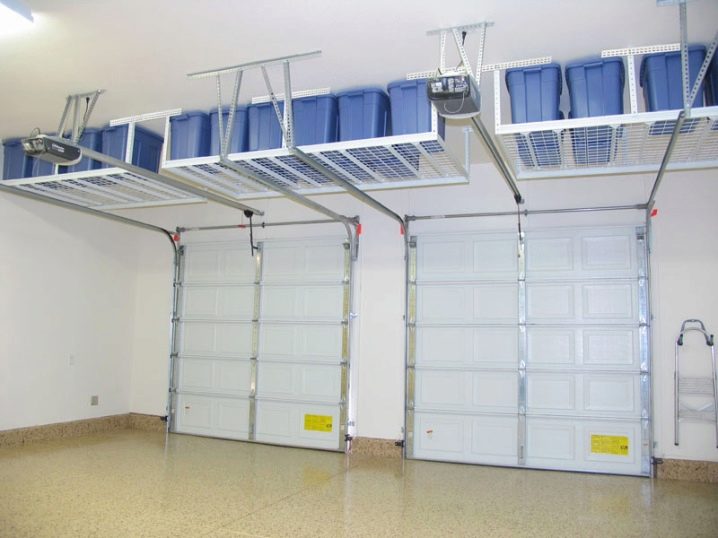
- Sometimes, to save space, shelves are fixed directly to the ceiling without using vertical supports on the floor. Hinged shelves can make room in the lower tier of the garage box, but they can not differ in special carrying capacity. You can fold on them oversized, but light lengthy slats, plastic corners, cardboard tubes, etc. You can also make them mesh - then you can hang something with hooks to them with hooks.
- Another popular way to use a wall is to arrange a metal or plastic panel with fasteners (hooks, brackets, etc.) instead of a rack, which will greatly save free space.
- To create a small gap between the wall and the panel, it is recommended to use wine corks cut in half.
Suspended structures
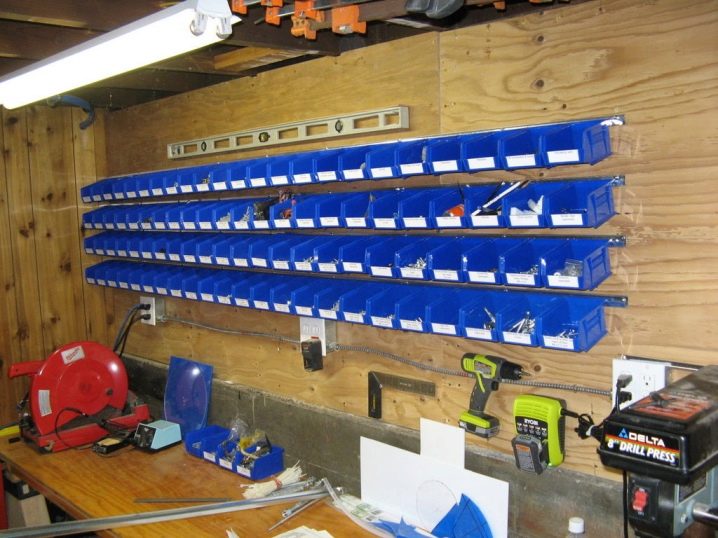
The problem of storing small parts, screws, washers, bolts and other fasteners in the garage is quite acute. On the one hand, they should always be at hand, on the other hand, it is easy enough to lose them and drop them on the floor. There are several options for solving the problem. Here is one of the interesting, simple and low-cost options - only ingenuity and a new look at the use of ordinary things.
First you need to decide on the required number of cells of the desired size.
To work will require:
- 4 slats of metal 2.2 m long each;
- electric drill;
- fasteners.
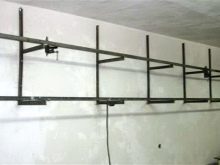
In our case (see photo) there are 24 identical cells in a row. There are four rows in total, the size of each cell is 14x10x7.5 cm. In the metal rail (in our case, its length is 2 m), drill the holes for the fasteners on the wall for the entire length of the row. It is not recommended to save, as the rail will keep the cells filled with metal parts. Next rail mounted on the wall. On the slats fasten cell. Done!
Original options
Much in the garage you have to do with your own hands, because among the variety of products that modern industry offers us, there is not always something that fully meets the demand of the picky and masterful owner.
In this case, we are talking not only about furniture (cabinets, shelves, shelves, tables, workbenches), but also about all sorts of home-made devices that make life so easy when there is a sudden need to perform a non-standard operation.
The garage performs a variety of functions: from the storeroom and workshop to the rembox and resting place. In any case, there are a lot of original ideas embodied in useful, necessary and functional gadgets and home-made products for the garage, which are quite accessible for making from improvised means with your own hands.
- To protect against drafts, it is often recommended to lay a kind of sausage under the garage door. It helps when working inside the garage in the winter season.
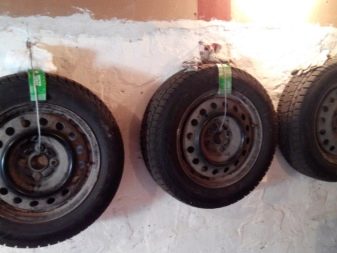
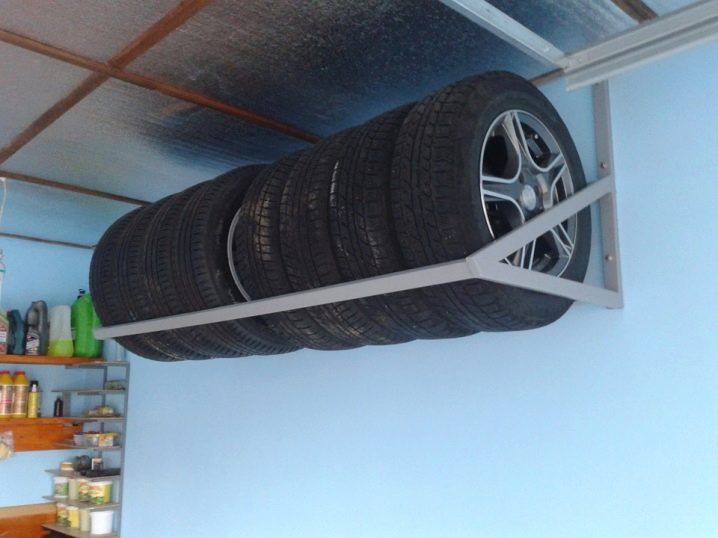
- Spare tire kit stored in a suspended state or on its side. If there are no discs, the tires are stored vertically with the obligatory change of their position once a month.
- In order to place them in a standing position, it is recommended to construct a storage place on the wall with your own hands. In fact, it is a wall triangular frame into which tires are inserted in a standing position.The further the frame is installed from the heaters, the better the tires will remain.
- It is good if there are tires left in the garage that have not yet been used for scrap. If you put a piece of plywood or particleboard on top of such a tire and decorate it with a decor, it will turn into such an elegant thing as an author's stool.
- With a lack of driving experience, you can fix the used tire on the wall opposite the gate as a bump stop. Such crafts will significantly reduce the risk of scratching the bumper when parking a car.
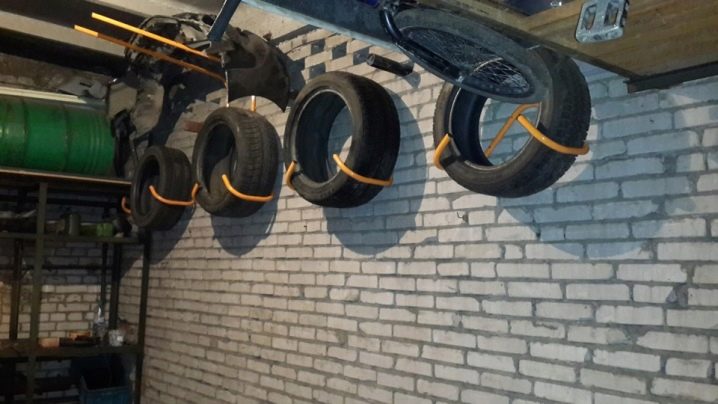
- From the old tire the self-made thing for storage of trifles turns out. Attaching a tire to a wall is quite simple, and this option will look spectacular. For flower growers, a shelf can easily turn into a flower bed if the tire is placed outside the garage.
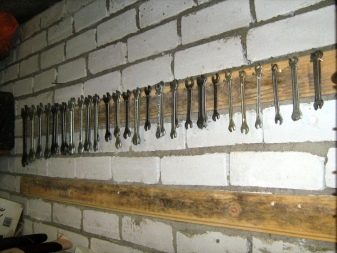
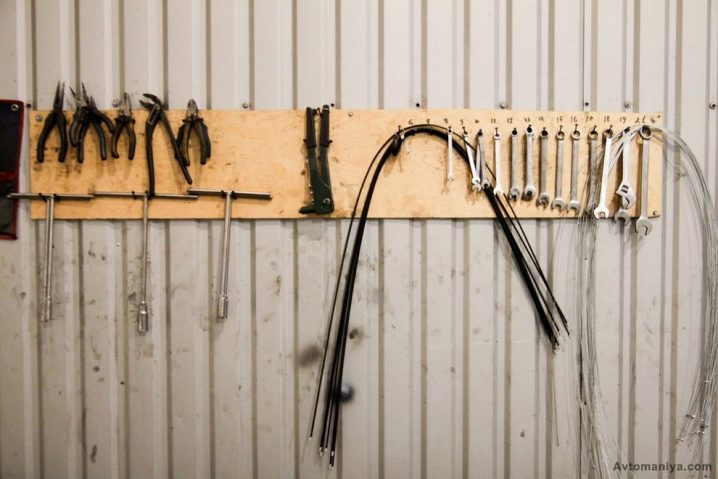
- Storage of various keys (cap, combination, adjustable) on hooks is advantageous and preferably from several points of view at once. Several keys on one hook, they are clearly visible, take up little space, all are accessible at once.
- Rags are very convenient to store using a wall holder, which uses the usual clothespins.Rags will always be at hand, no need to waste time looking for her.
- To make recordings “for memory”, you need a blackboard and chalk. But this is absolutely optional: cover the cabinet door, part of the gate, some kind of shield or just a free, even part of the wall with graphite paint and make a schedule of affairs on it, leave notes or write down the dimensions of the future shelving.
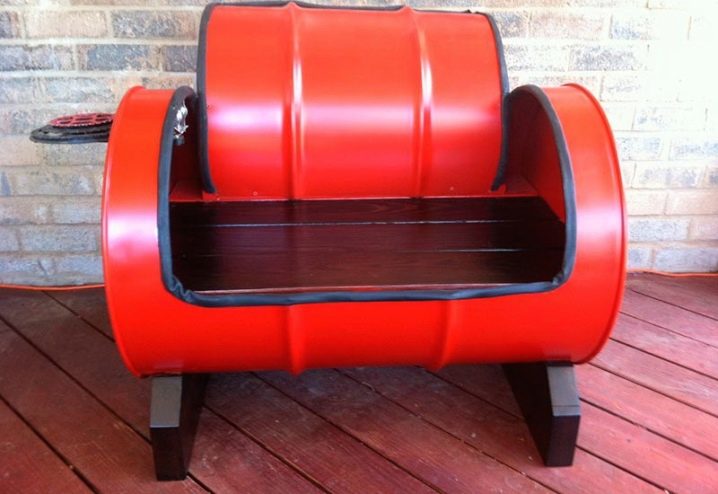
- From the old 200-liter barrel with the grinder you get a wonderful chair, if you beat it with foam rubber or rubber. It can be the basis of a table for something needed.
- Boxes with various things on the garage floor will become much more mobile if you attach wheels from old office chairs to them.
- If you attach a figuratively carved plank with holes and brackets to the wall above the workbench, besides the hooks, it will be of great help in storing and using pencils, drills, bobbins with threads or twine.
- The same applies to different types of loops and straps attached to the wall of the garage.
- If you attach lids to the bottom surface of the wall-mounted cabinet, it is very convenient to roll up cans in them that store various small items.
- Another possibility of their use: an electric cable is pulled through a hole in the lid, and a cartridge with a lamp is placed in the jar - the lampshade is ready!
Garage doors are a very significant and important part of boxing. They carry quite a significant load, serve as the main obstacle for robbers, they need thermal insulation. To all of the above, you can add that the gate should be as comfortable as possible for the owner of the garage to use.
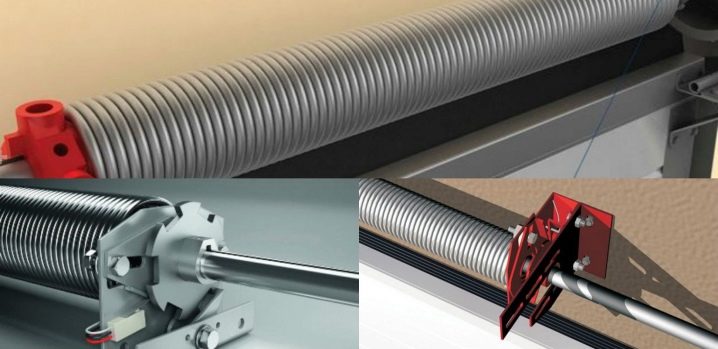
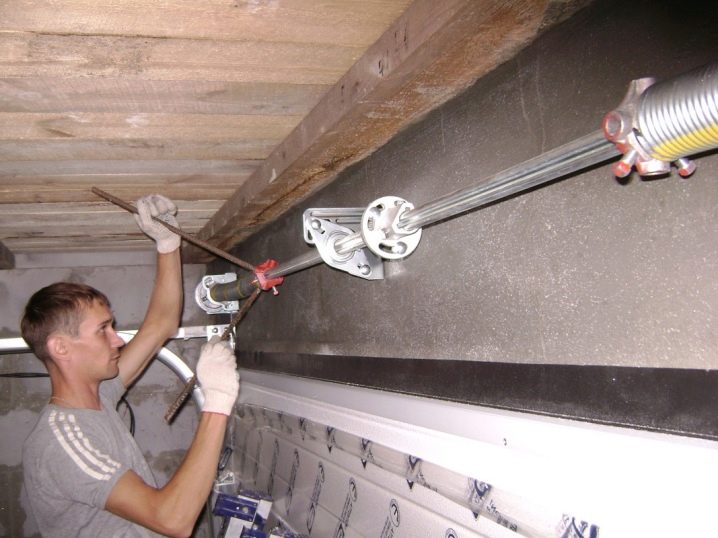
The version of the gate, equipped with tension springs or torsion springs, is not very popular in Russia compared to the “classic” version, but they deserve attention precisely because of their ease of use.
Extension springs are usually used with gates of less than 8 m². They do not need a postcard of great height due to the fact that used extension springs mounted on the sides. They are easier to install, and the price is lower than the gate, which use torsion springs. Unfortunately, the built-in gate in these gates can not be installed.
Torsion springs are used when installing the gate more than 8 m². Allowed 3 types of installation: standard, low, high. A big plus in the operation of this type of door is protection against the fall of the door leaf when the springs fail and low-noise operation, as with the option with a built-in wicket.
Both options will last about 17 years, which is estimated at more than 25,000 openings / closures, which is about 4 cycles per day.
Review the cool ideas homemade for the garage, see the following video.
