Vents for greenhouses: features, varieties and sizes
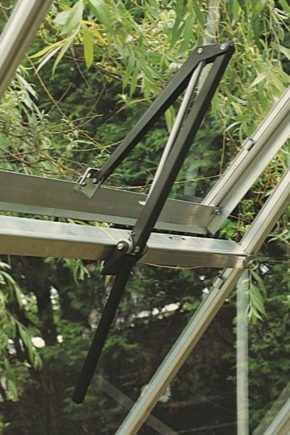
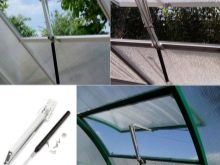
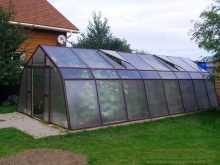
The use of greenhouses for growing high-quality crops is associated with certain conditions that must be created inside. To maintain a balance of humidity and temperature, vents help, without which inside the culture they would suffer from the appearance of rot and other diseases. Modern technologies offer several possible installation options for the structure, which ones should be considered in more detail.
Purpose
Favorable climate to create in the greenhouse in the country can only be organized ventilation. It is not enough to install the vents, it is required to do this correctly, only this way it will be possible to prevent the appearance of microorganisms and bacteria. Forced ventilation greenhouses one of the options.
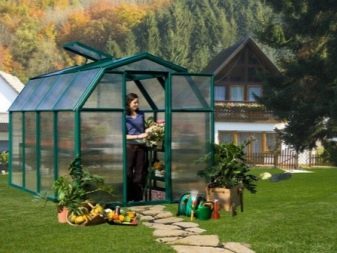
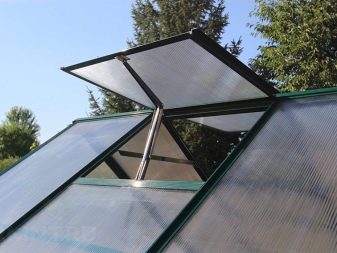
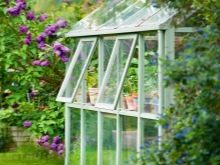
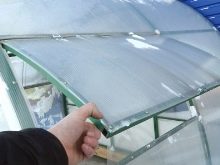
A good option is polycarbonate, which transmits light, but not air. The window leaf is essential for winter cucumbers and other crops. Most often, the vents do two, so that the plants inside are not burned by the increased temperature, but their number depends on the size of the room. Usually organize the construction on the gable roof and other variants of execution.
There are ready-made options, and you can create your own hands with the help of suitable tools. It is the window leaf helps to hardening of planted crops. They become more resistant to adverse conditions.
Kinds
All designs for ventilation can be divided into such large groups as:
- mechanical;
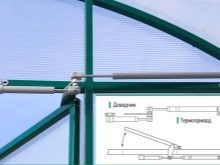
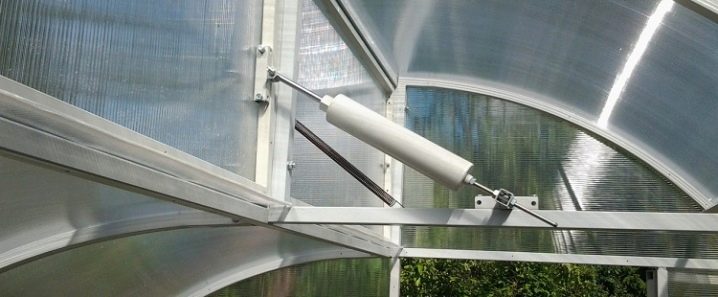
- automatic shock absorber or hydraulics;
- with opening system.
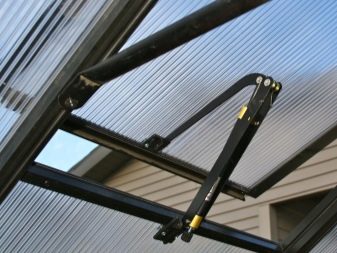
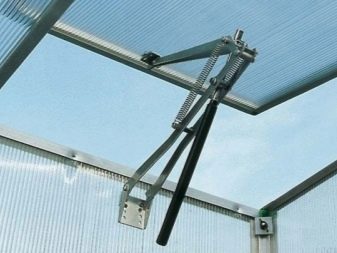
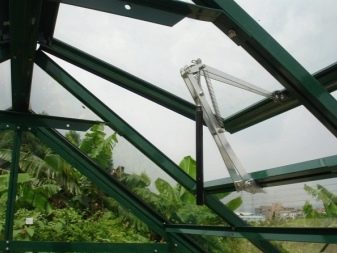
Automatic polycarbonate vents equipped with electric. This option is more practical than the mechanical one, since the system reacts to a rise in temperature due to the installed transom. Thus, the microclimate inside remains at the required level, which simplifies the process of caring for plants to a gardener.
Vents with automatic installation are as follows:
- with hydraulic system;
- working on electrics;
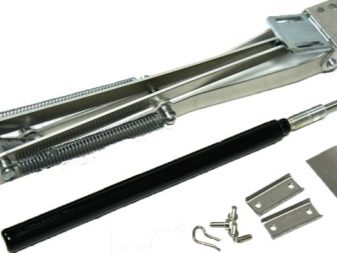
- based on the principles of metal compression.
Understand which of the options is preferable only by assessing the advantages and disadvantages of each design.
Hydraulic
A simple system built on the basis of built-in hydraulics is connected to the design of the vent. It is characterized by reliability and autonomous work. You can create a design of different capacities. The principle of operation is that the delta measures the temperature and humidity, and also decides whether it is necessary to ventilate the room.
Two containers with liquid represent a lever, they are connected to each other with a hose. They are at different levels of the greenhouse - below and above. The container below acts as a temperature regulator, it is completely sealed, and the upper flask is a weighting agent.
Everything works on the simplest laws of physics. When the temperature of the air inside the greenhouse rises, the air in the lower tank heats up, the liquid is displaced under pressure, as a result of which it moves up the hose.
When the weight of the bulb on top increases, the vent opens. When the liquid has cooled, the structure will close; on average, this is 20 minutes. Such a device can be created independently.
The only drawback is the inability to protect the plants from a cold snap, since even a small exposure to low temperature leads to damage to some crops. To create a system you can use simple banks yourself. In a three-liter jar is poured 800 ml of water and rolled. A hole is made in the lid where the hose is inserted, which does not reach the bottom by 3 mm. A polyethylene cap is put on a smaller jar and a tube is inserted from the dropper; it will play the role of a pneumatic siphon. Both openings must be sealed. The system is placed inside the greenhouse and adapted to the frame of the counterweight bar.
Electric
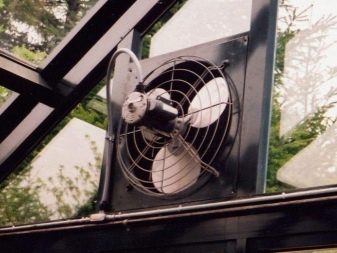
In the design of such a vent there is a fan and a relay. When it gets too hot inside, the relay is activated and the fan turns on.
One of the main advantages are the following:
- sensitivity;
- power;
- compactness;
- possibility of adjustment.
The main disadvantage is that when a power outage the system stops working, and the plants can suffer from moisture and high temperature.Sometimes one window is left in the greenhouses, which can be opened manually to prevent negative consequences. You can also install a backup power source, for example, a solar battery or battery, and a generator will do. In any case, the manual ventilator helps to always solve the problem.
Bimetallic
The drive of such vents works on the basis of differences in the properties of different metals, which can contract and stretch. It is based on two metal elements with a different coefficient of heat for expansion. When one heats up, it bends and opens the window, as soon as the structure cools - it closes.
The main drawback is a small capacity, so the system can only be used in small-sized greenhouses.
Number and size
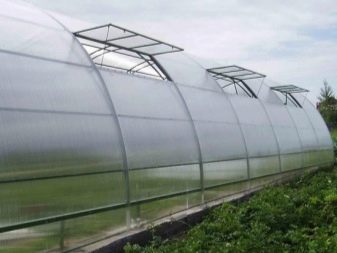
The size and number of windows are of great importance when organizing a greenhouse. For 6 meters, you need three vents, because for every two meters, one design is installed. In order to ensure normal ventilation inside the greenhouse with a size of 3x6 m, at least 4 structures shall be installed.The total area should be 25 percent of the surface area of the room. If there are partitions, windows are placed in each compartment.
Location
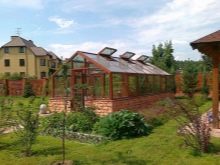
If you already purchased a ready-made greenhouse, it provides for drawings where windows will be located. The designers have already foreseen the abundance of precipitation and other factors that should be considered in the region. Sometimes a hole is made on the roof, but side ventilation is considered to be equally effective. Since the warm air is concentrated under the ceiling, the vents made there are more efficient. With a lateral arrangement, they approximately divide the height into three parts and establish the structure, retreating from the ground by 2/3.
If the window is organized independently, then the following requirements should be taken into account:
- there should be no windows near the entrance;
- the first structure is installed in the middle of the greenhouse;
- best location from the south.
Mounting options
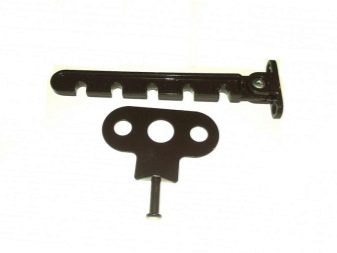
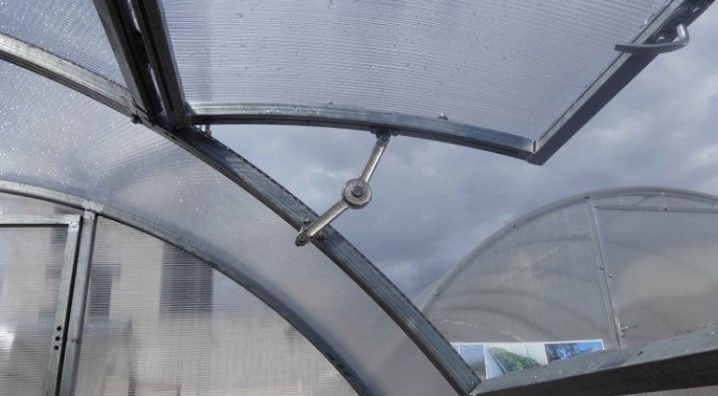
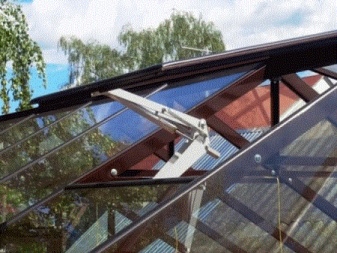
The design of each pane necessarily provides for the presence of clamps, they are responsible for the opening angle.
Today devices are presented in two options.
- Comb. It is a simple element through which the window is fixed in the desired position. It is not used in automatic systems, because it limits the mechanism, which leads to rapid breakdown.
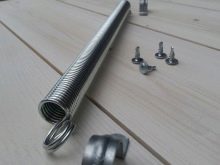
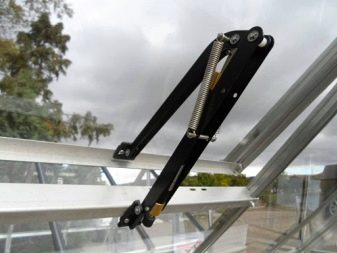
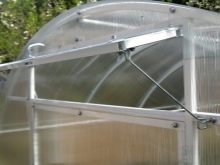
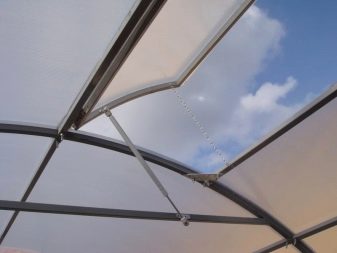
- Spring on the chain. On the automatics, limiters are installed on a chain with a spring that protect the system in case of strong wind.
One of the options for fixing windows are swivels. The choice of what design fragments will have no effect on the microclimate. If there was no preliminary calculation of the temperature regime, then do not make a frame, the polycarbonate is cut through on three sides and the edge is broken, which should move freely. A stiffener is created at the lower level; you can use a rail or profile as it. Such a design can help out until the ventilation system is organized.
The vents must be vertical, but on the windy side, because a draft negatively affects the level of humidity. It is important to maintain natural circulation. If the greenhouse is long or high crops are planted inside, then the created ventilation system will not give results, a different type is required.
You can see if there is enough inside the windows by looking at the walls.If condensation is collected, it is time to upgrade the structure.
Manufacturers
Even if there are already enough windows in the structure of the greenhouse, there is always a chance that it may be necessary to install an additional window leaf.
Not bad, fully equipped options are offered by such Russian manufacturers as:
- "Planet Gardener";
- "Dusya-san";
- "Thermovent";
- "Signor Tomato".
Products are supplied for sale already assembled, with the required number of loops and salary. The kit also has a polycarbonate sheet, which allows you to seal the seams and prevent moisture from entering during heavy rain. Tight closing and full tightness are guaranteed when properly installed. There are detailed installation instructions. If you want to buy an automatic system, you need to pay extra, because the system is not included.
Do it yourself
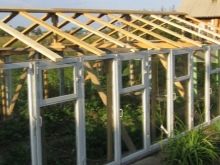
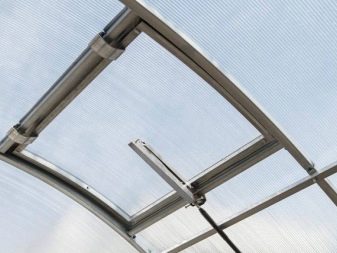
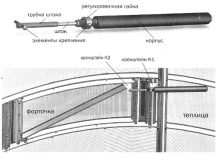
Making a simple homemade window is easy if you use drawings. Proper construction of the device will help create an ideal microclimate for the cultures inside, so the process should be approached with special care.A system that activates automatically is always reliable and practical. It may be necessary for an arched drive with which an electric mechanism will work like a clock or hydraulic cylinder. The transom is located in the opening formed between the vertical and horizontal elements of the frame.
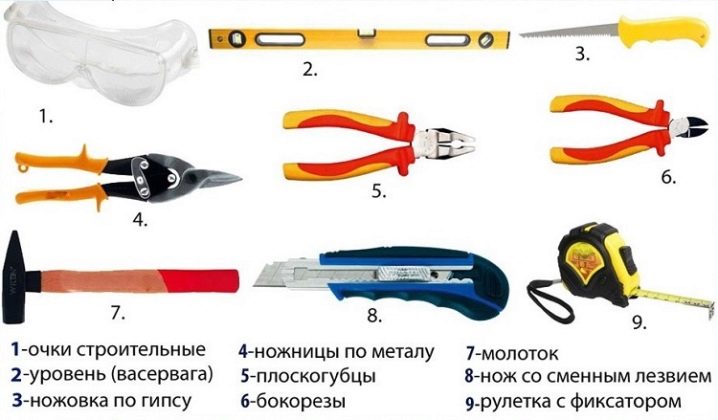
The following tools and materials should be on hand:
- Bulgarian or hacksaw;
- parts that provide the connection, for example, corners, but you can use and welding;
- profile of the frame construction of a greenhouse, you can take the pipe smaller in size;
- self-tapping screws;
- sealant or sealant;
- automatic mechanism.
The size of the ventilator space depends on many factors, including the presence of other windows, the size of the greenhouse. Top and bottom are cut out, as well as side elements. They are bent in the shape of the arc, only after that they assemble the frame, the inner space of which should be 2 mm smaller than the hole in the greenhouse. In the next step, four details are cut out, which will become the basis for the fragments. When a large opening is desirable to put an additional one profile, which will help to improve the strength. Now you should mount the hinges.
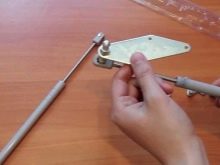
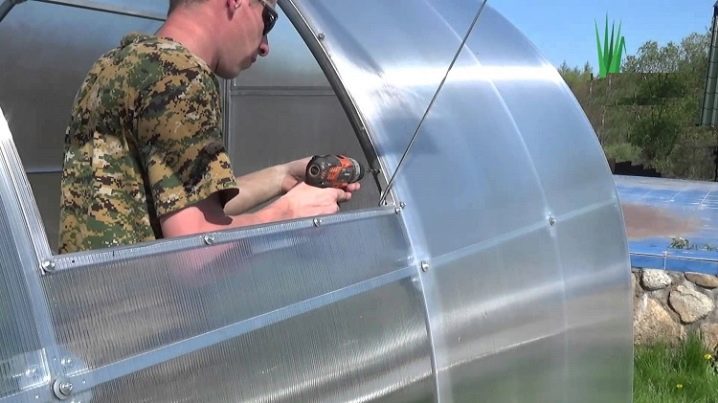
Particular attention should be paid to the quality of the accessories, since the performance of the ventilation windows will depend on it. The frame is placed in the frame and the loops are set. It is desirable that a small platform be welded on the bottom edge, the edge of the mechanism will fit here. Through holes are made through the frame. They should be located at a distance of 15 centimeters from each other. It is necessary to indent 5 cm from the corners. The frame is attached to the frame of the greenhouse using self-tapping screws with a wide cap.
Now you can put a limiter. Already from the street polycarbonate is placed on the thermo washer, special attention to the corners. In the middle of the frame profile material is cut with a sharp knife. The auto-ram is built according to the scheme provided by the manufacturer. After work, it is placed in the center of the frame. A rubber seal can be put along the contour to improve the quality of the seal. In the case when the frame for the window is too large, then the lift, which should have the appropriate capacity, should be only in the middle with an additional stiffener. If the window is small, the automatic drive is allowed to be placed on the side.
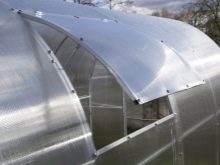
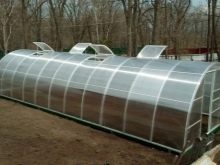
Polycarbonate greenhouses have become very popular lately due to the huge number of advantages of this material. There is always a place under the roof to create an additional window leaf, since there is a rectangular free section. Most often, the design is installed on one slope, the leeward side, which eliminates the desiccation of air inside. Of course, automation allows a gardener to spend less time on plant care. Systems work without a person, but to prevent force majeure, it is better to provide several vents that will be opened manually.
Today there are our domestic producers who offer turnkey solutions for greenhouses of various sizes. Such automatic systems are distinguished by reliability and resistance to the peculiarities of the Russian climate.
The ready set will allow to save time and forces, and also will provide a high-quality ventilation system. Models are built using the latest technologies, so there are practically no problems with them at the operation stage. From the gardener is required only to properly install, if experience is not enough,You can invite a specialist.
In the next video you will find instructions for assembling the vents for the botanist polycarbonate greenhouse.
